3D Print a Keyring Like Magic – FreeCAD Tutorial for Beginners!
Table of Contents
Hey there, fellow makers! Ever looked at a 3D printed object and thought, "Wow, that's like magic!"? I know I did, back when I first started. The idea of turning a digital design into something tangible was mind-blowing. And guess what? It's not as hard as it looks, especially when you're making something as simple as a key ring. Today, we're going to dive into FreeCAD-a fantastic free and open-source 3D modeling tool-and create our very own 3D printed keyring.
Setting Up Your Workshop: FreeCAD Basics
TopFirstly we will need to install FreeCad. You can download it directly from the FreeCAD website for Windows, Mac & Linux. The initial interface might look a bit intimidating, but we'll break it down. Imagine it like setting up your digital workshop; you need to know where your tools are.
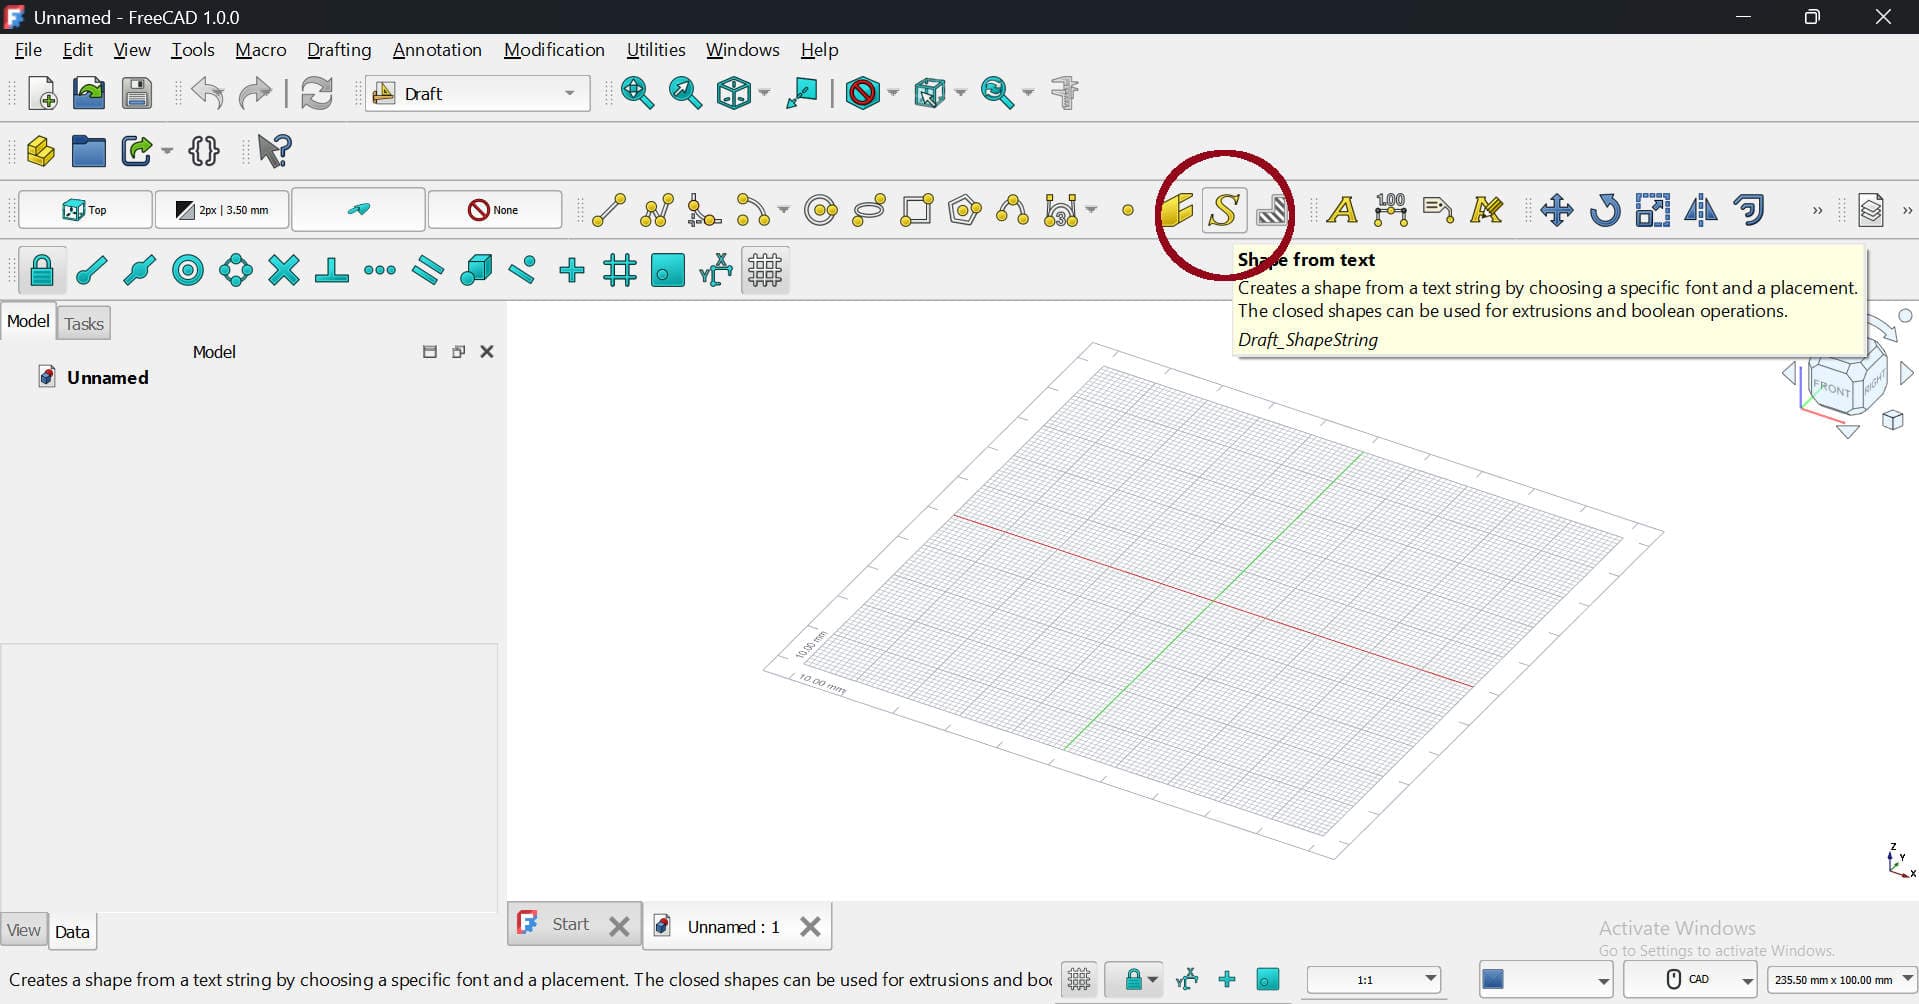
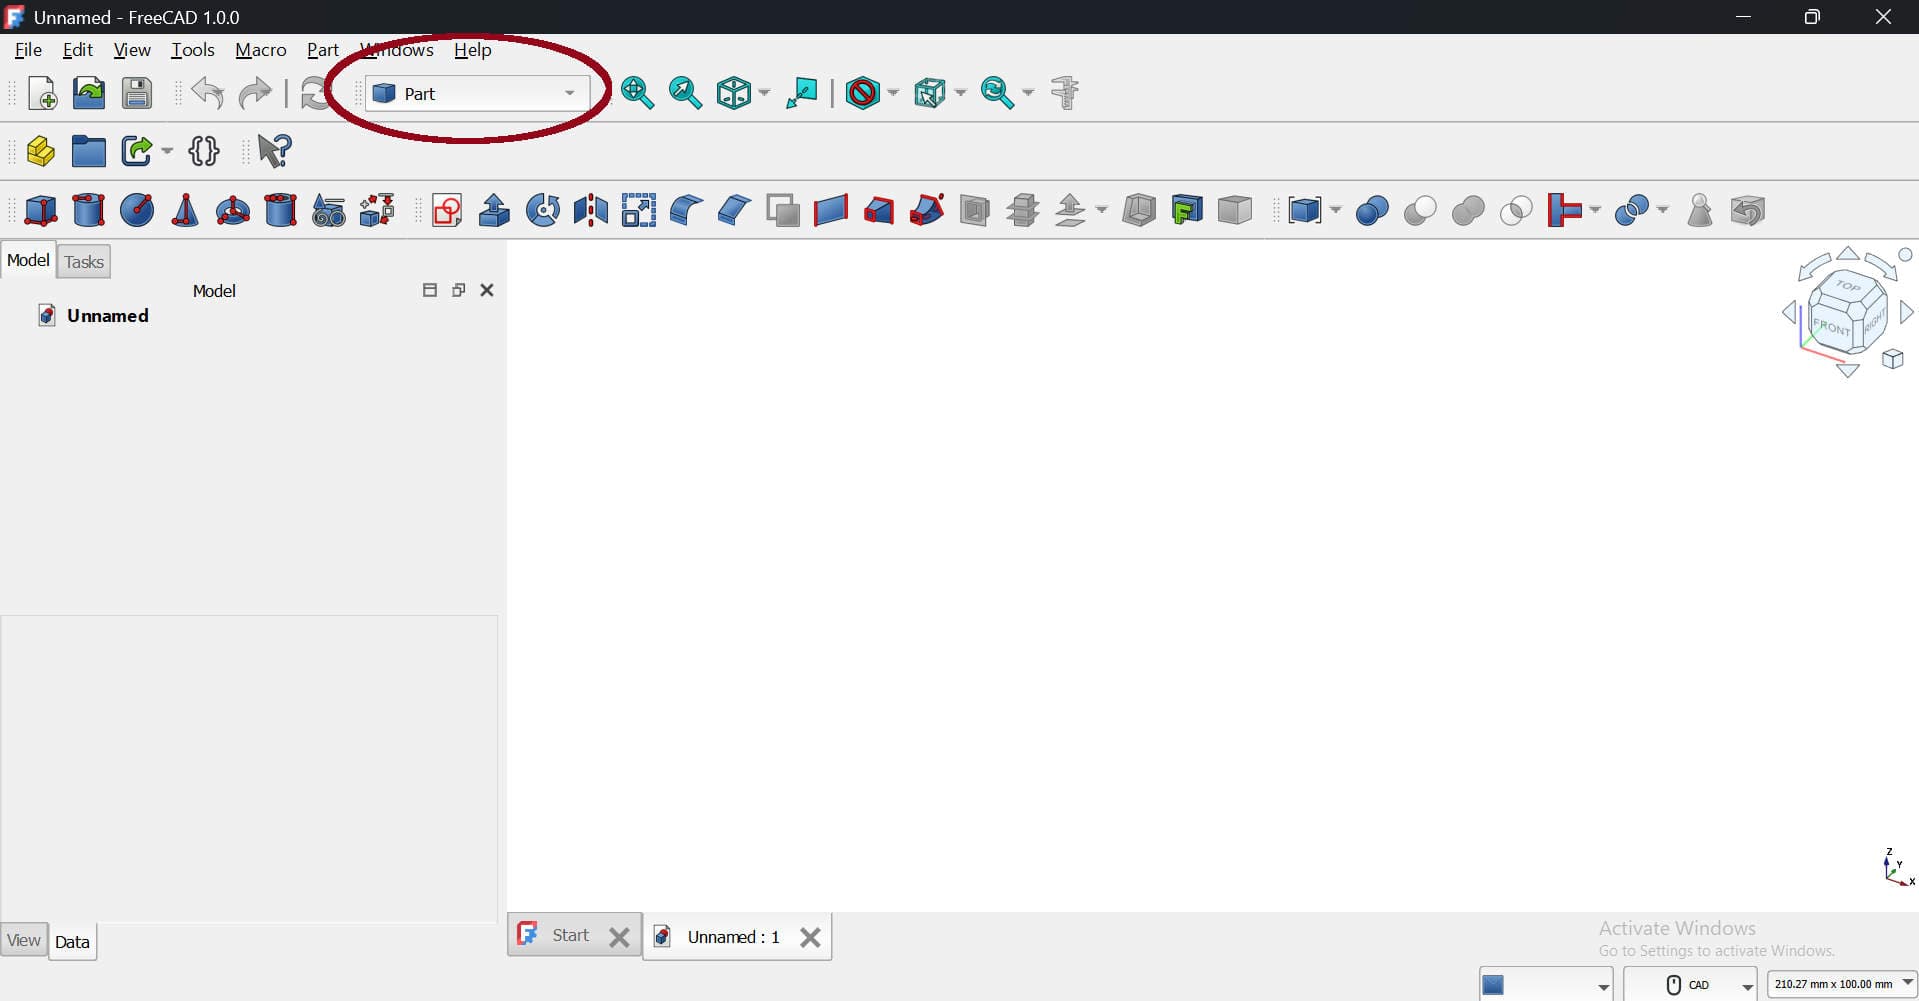
The main workbenches you'll use are "Part" and "Draft." Think of the Draft workbench as your drawing board, where you create 2D shapes, and Part as your sculpting tools, where you turn those shapes into 3D objects.
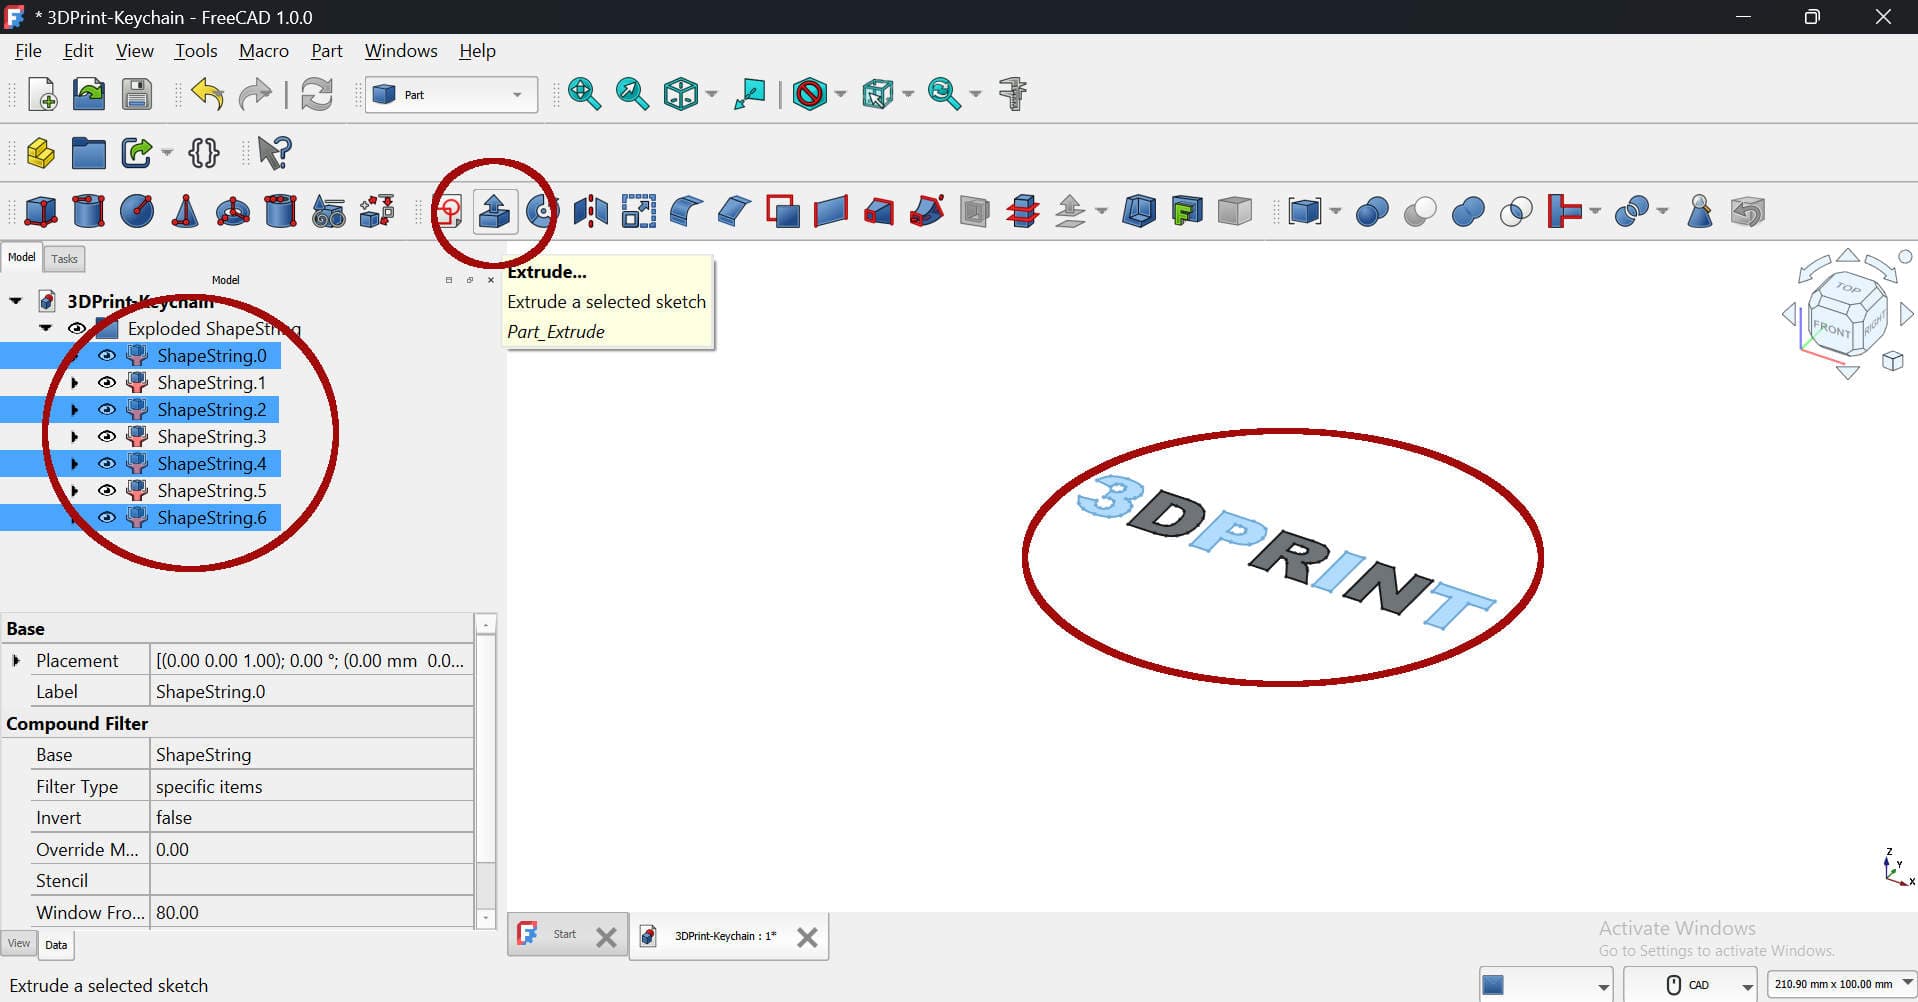
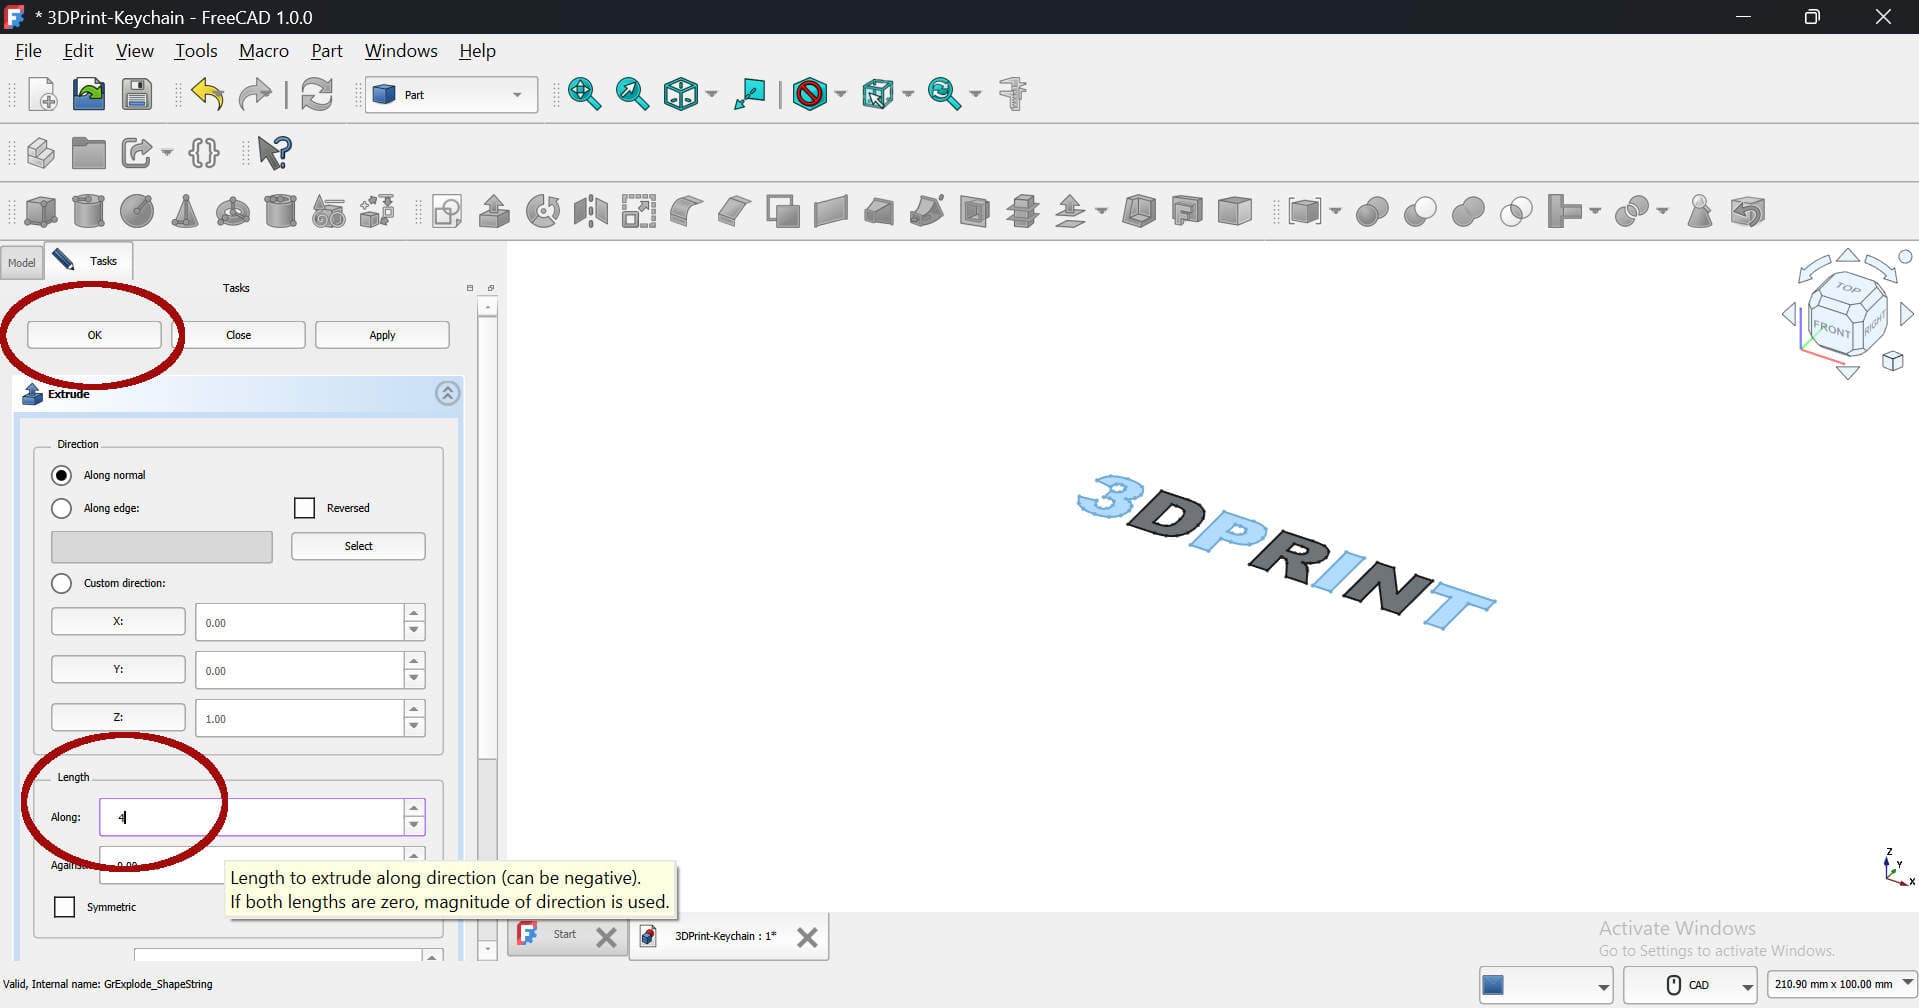
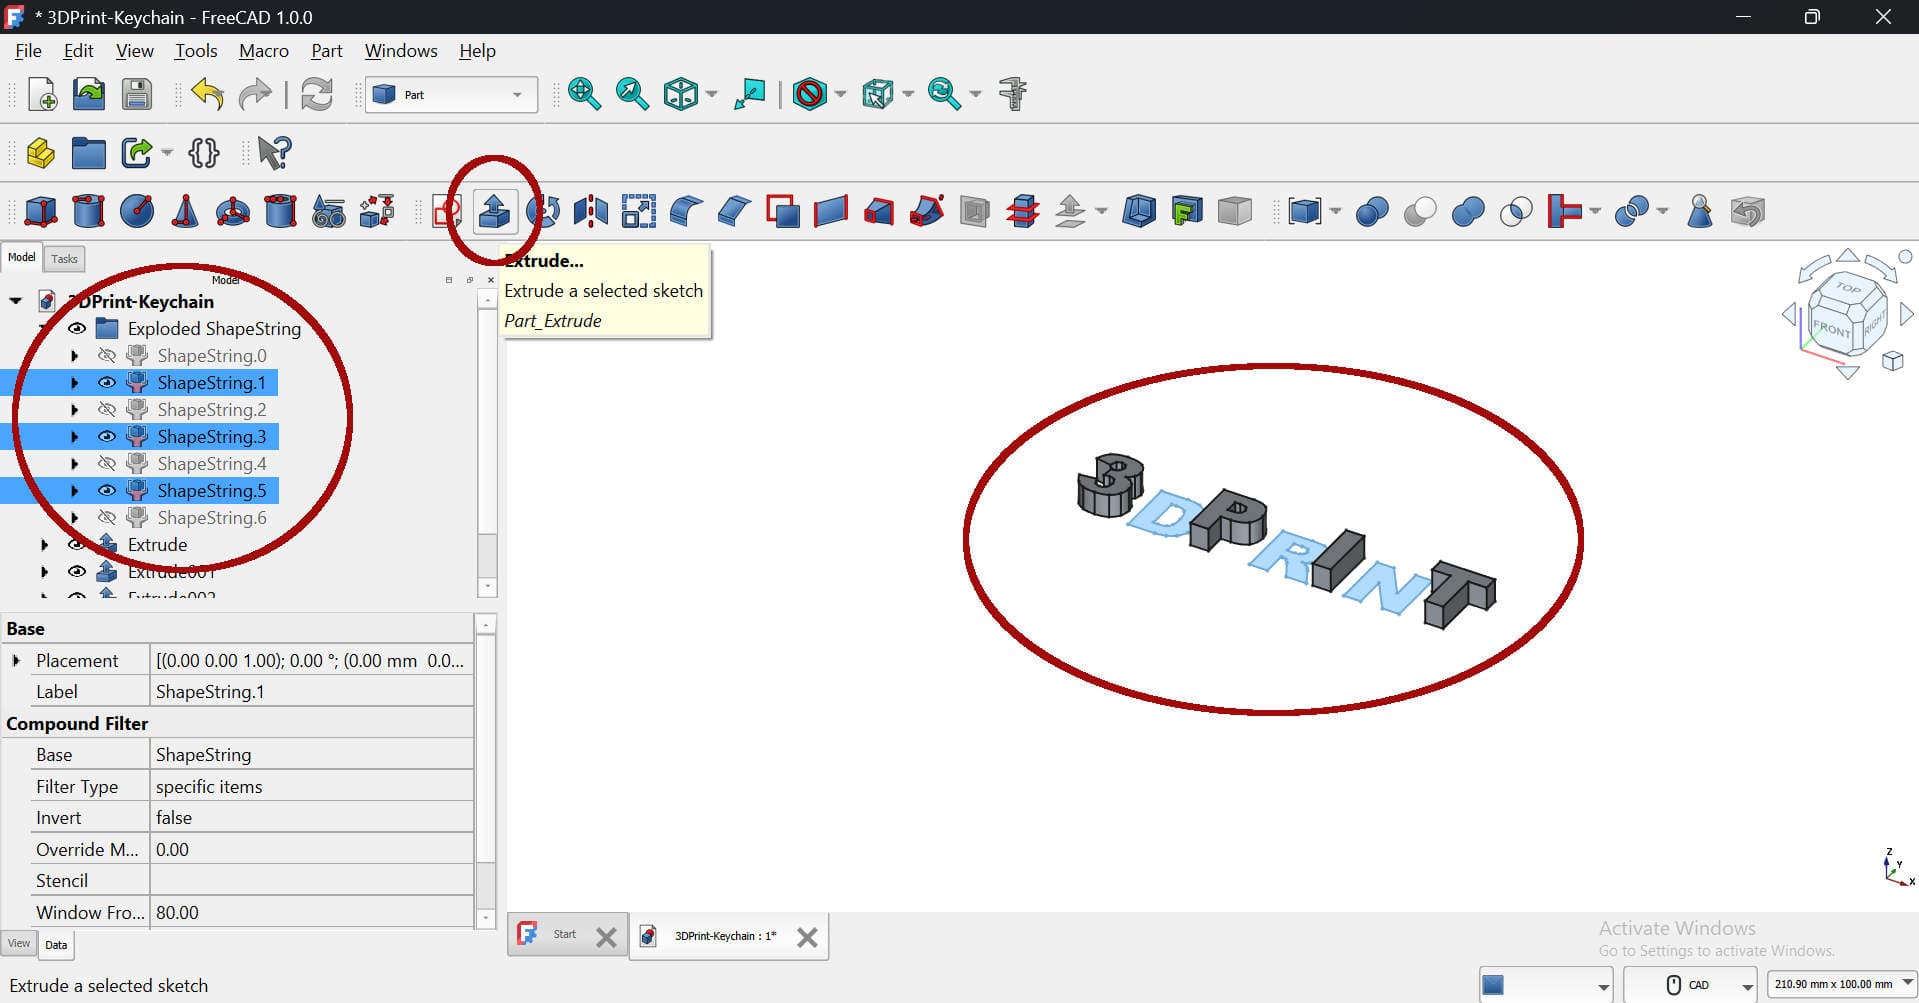
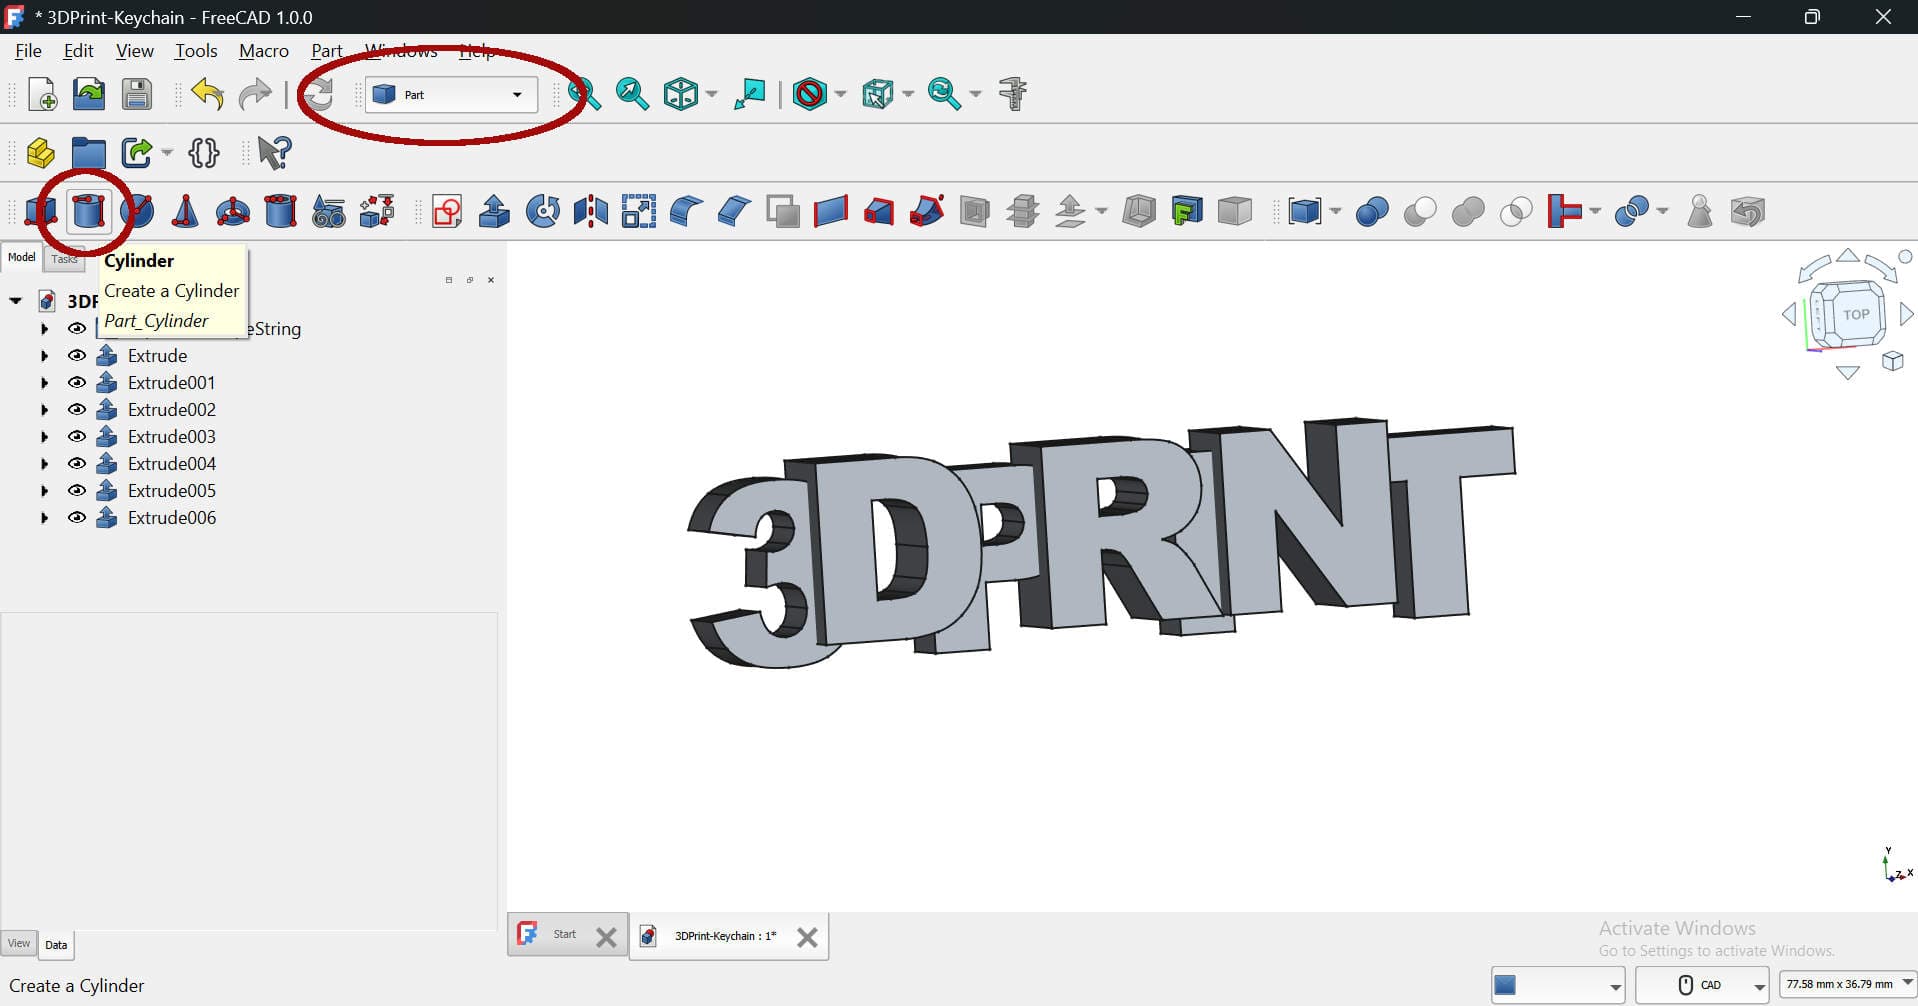
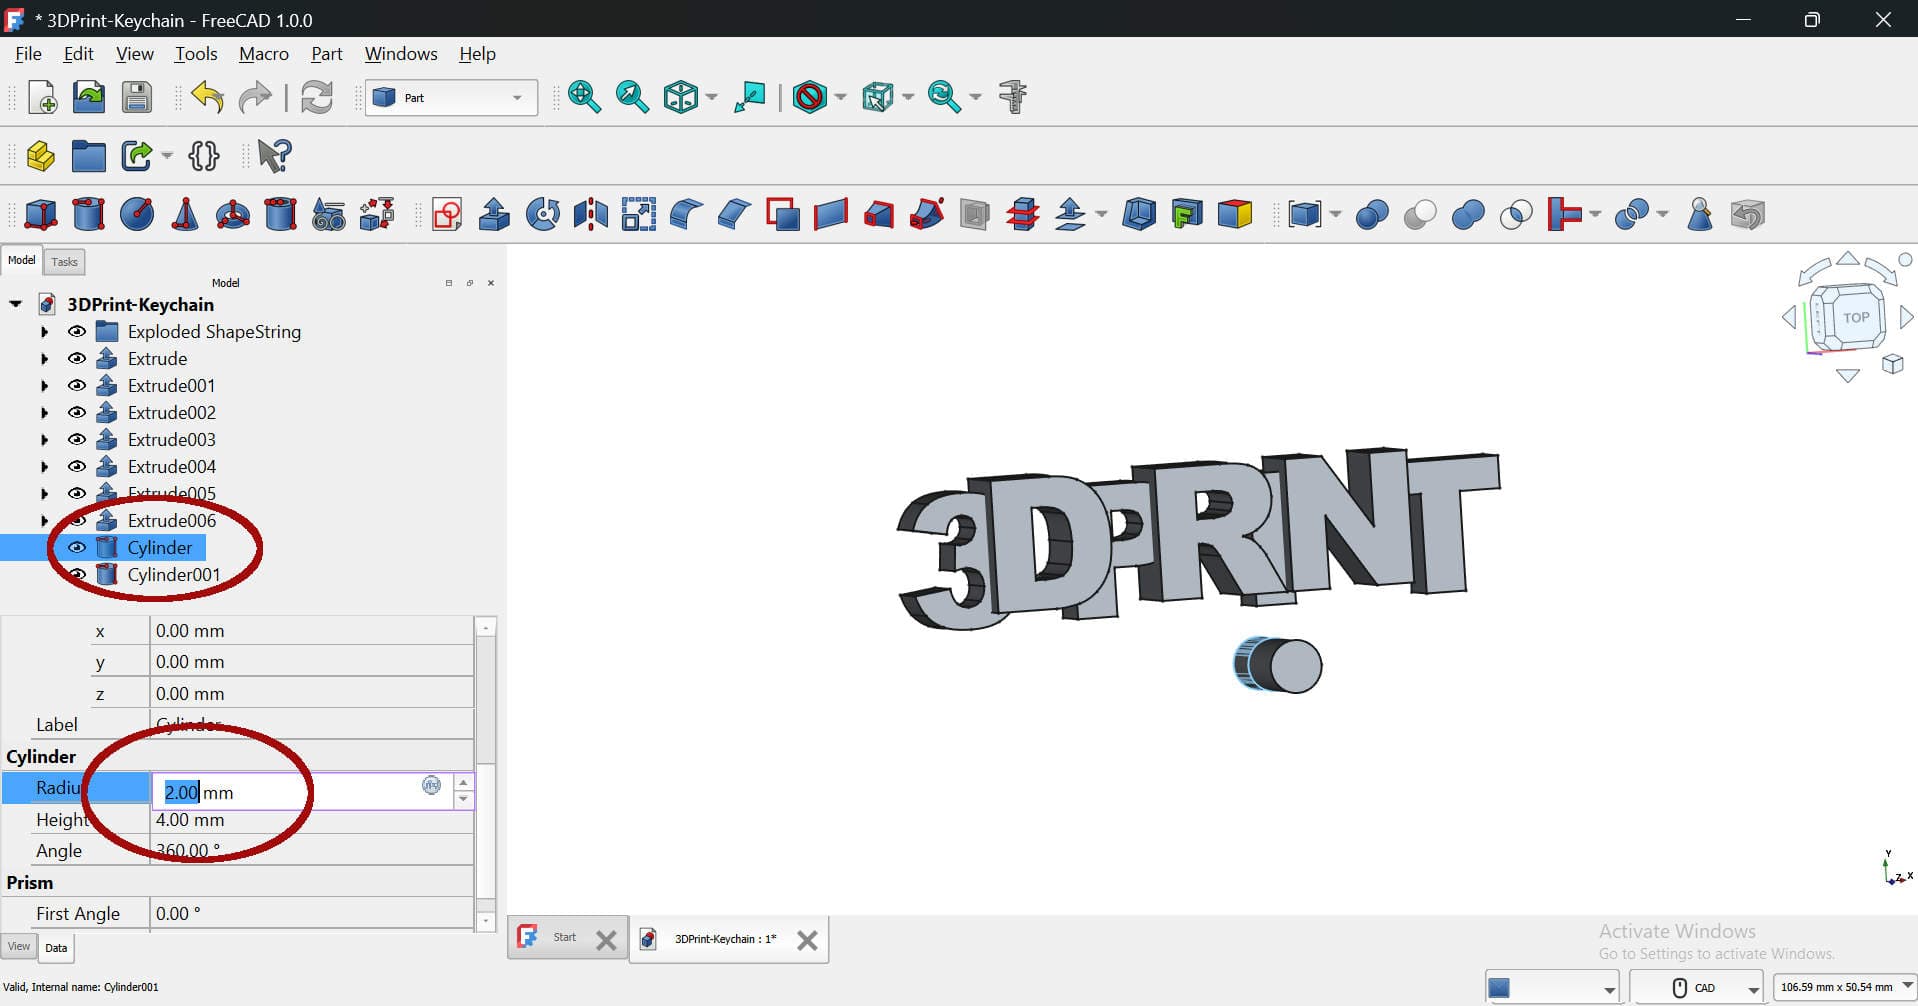
Creating the Keychain: Design Process in FreeCAD
Top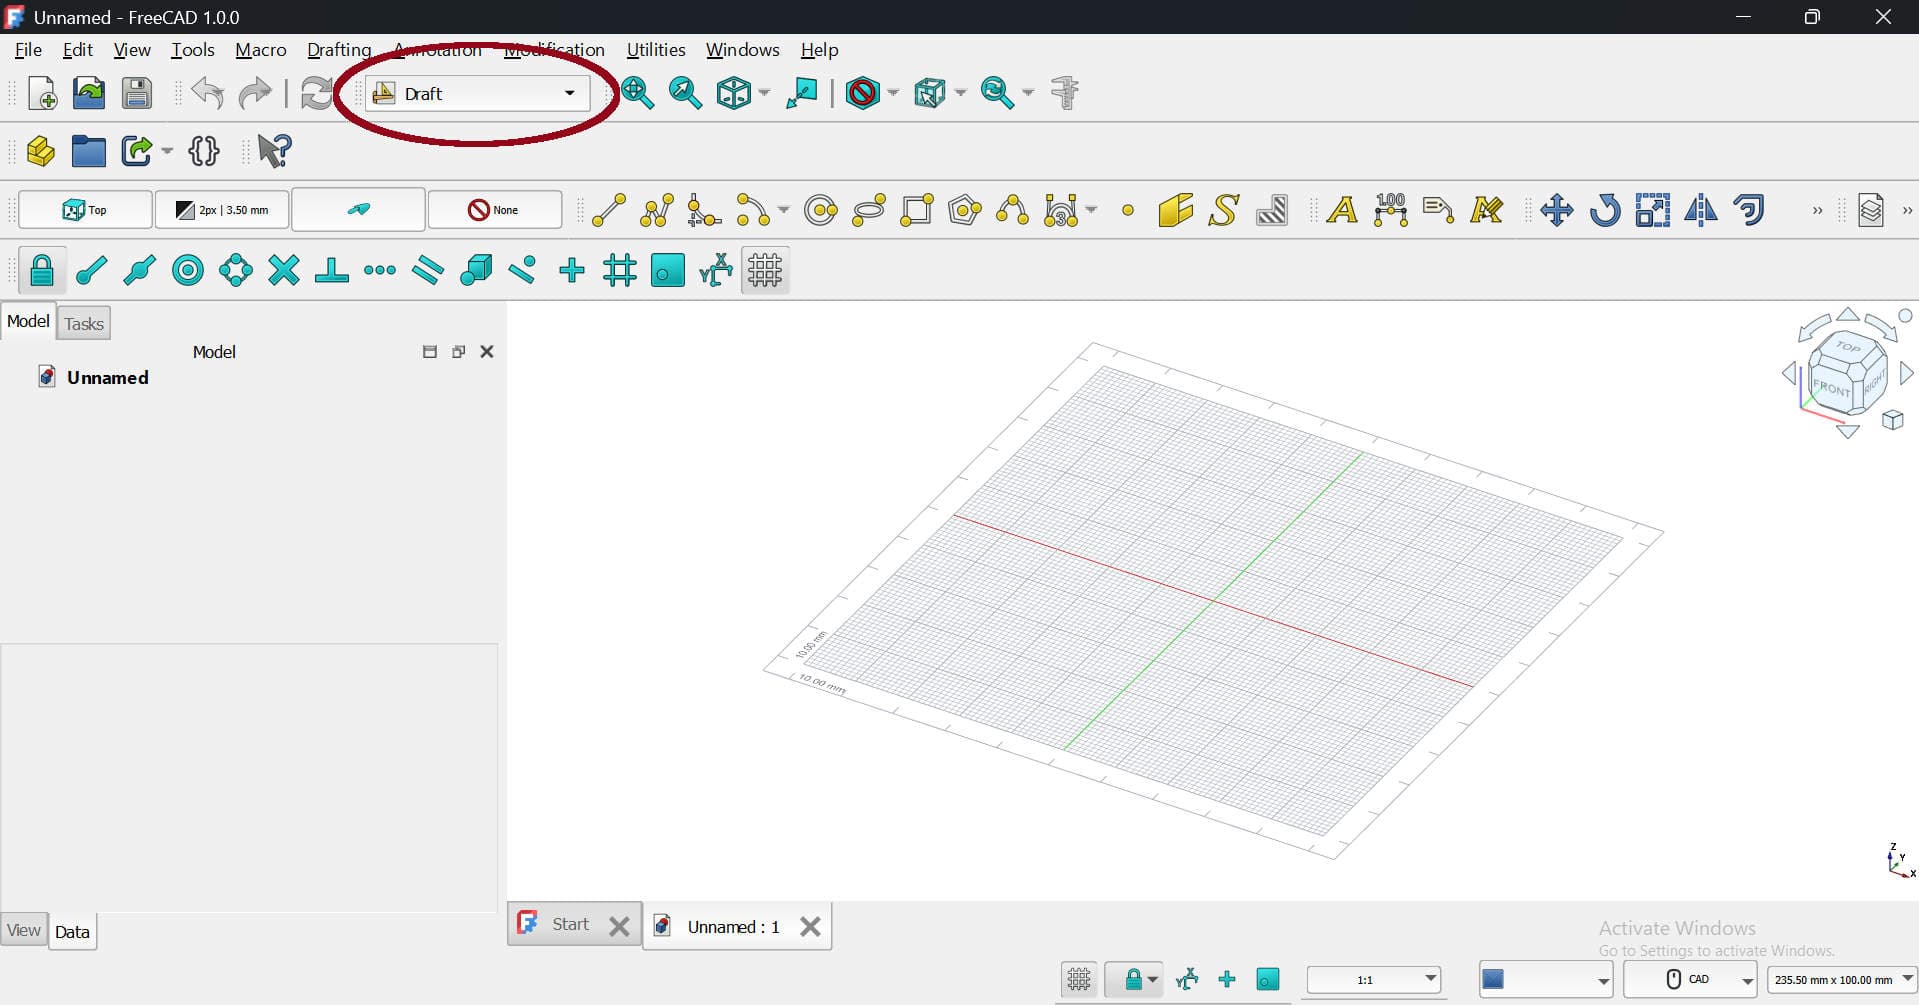
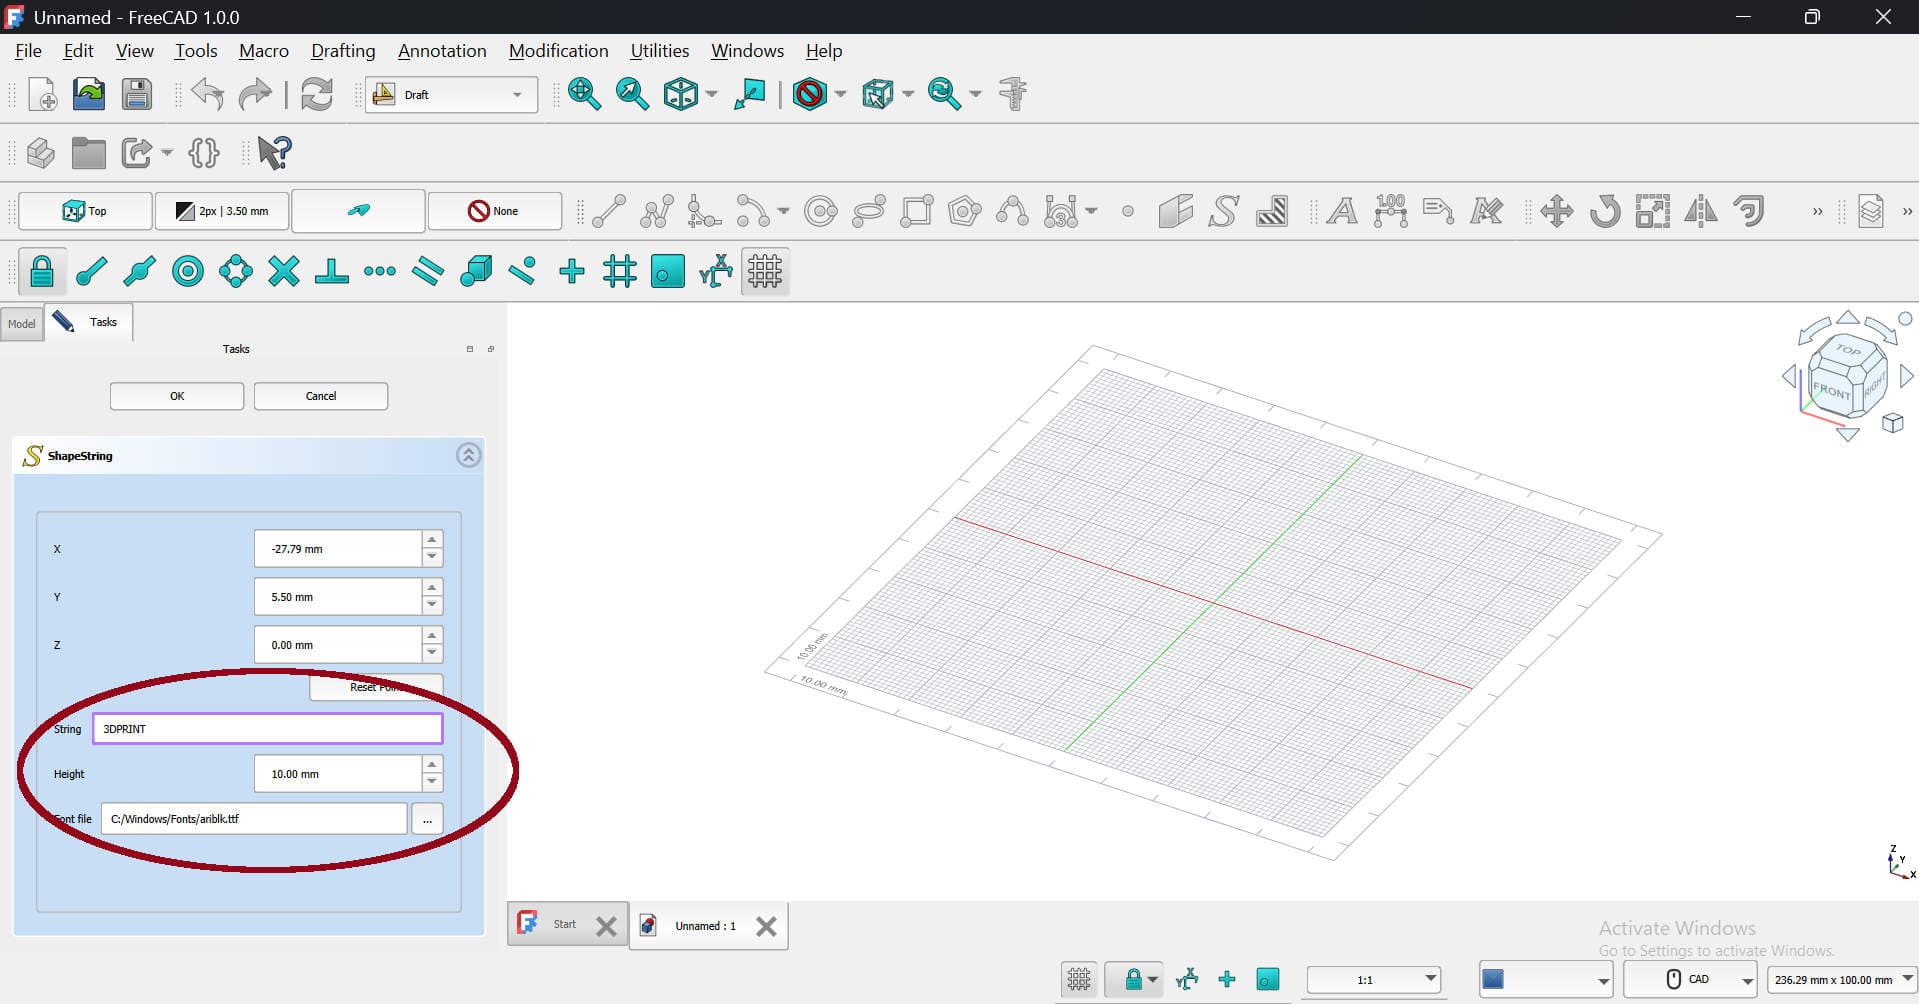
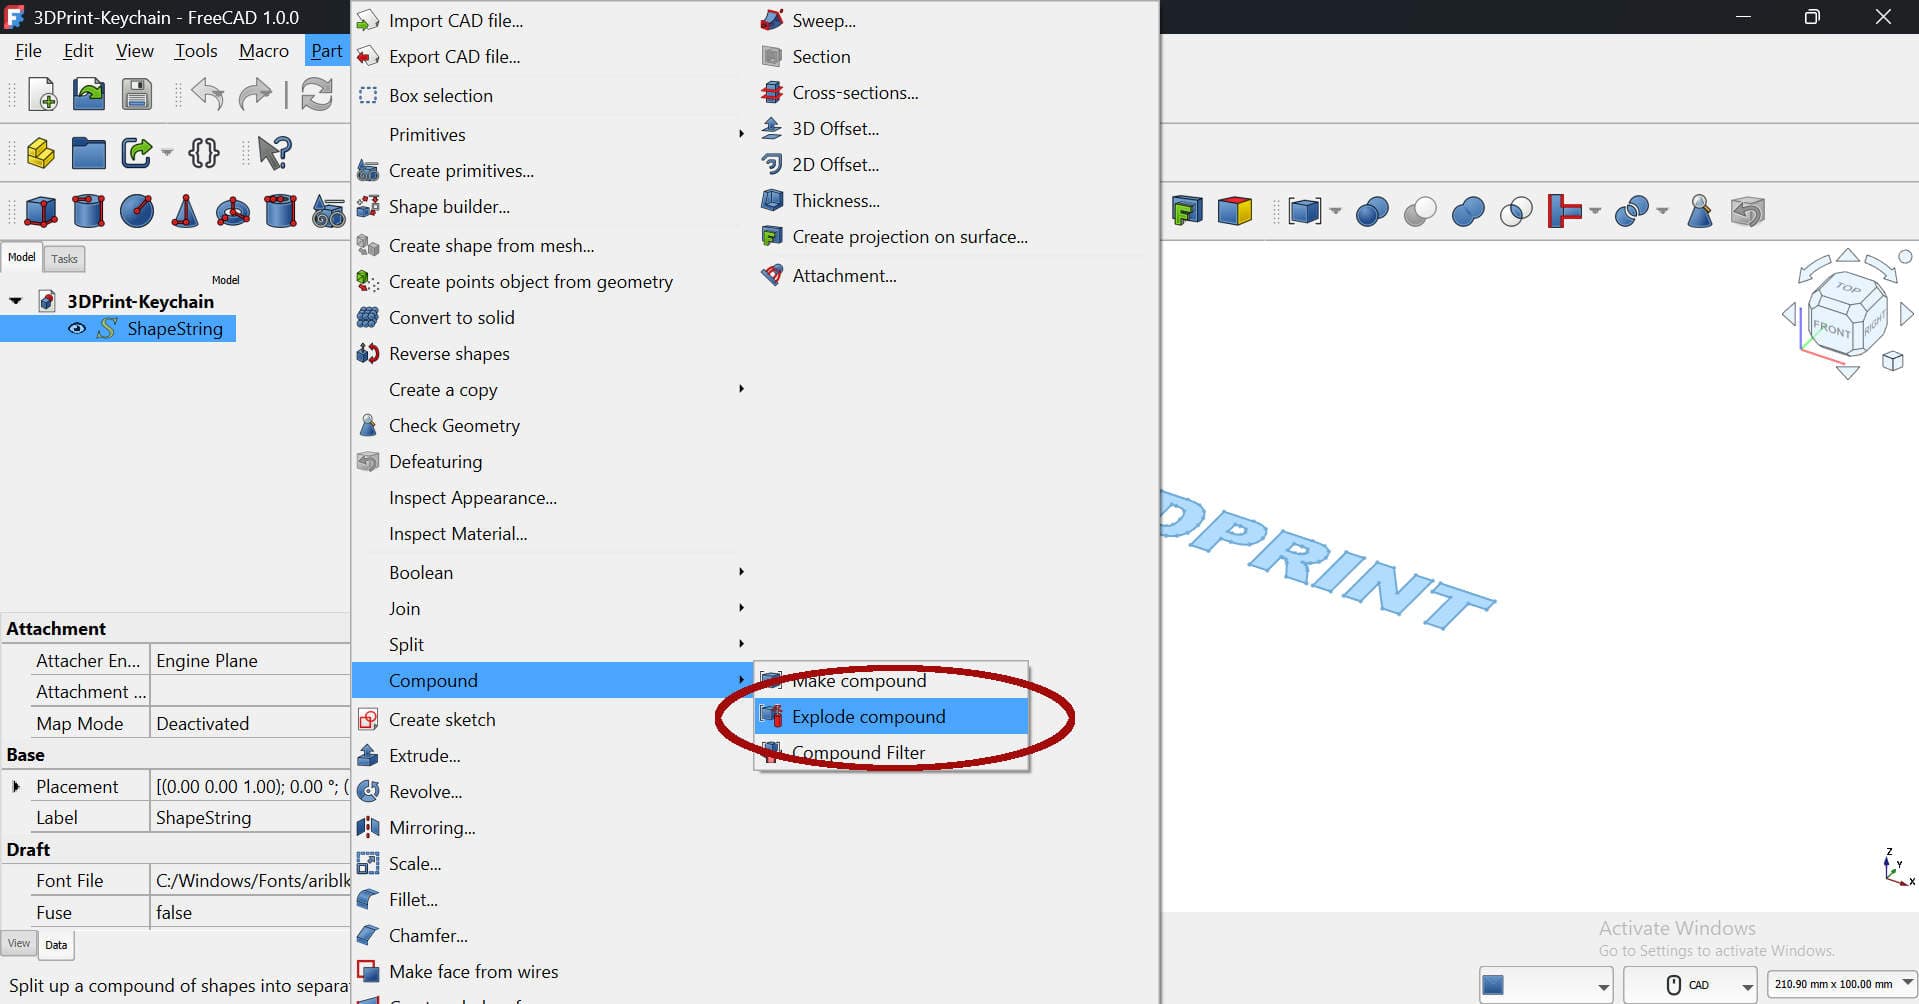
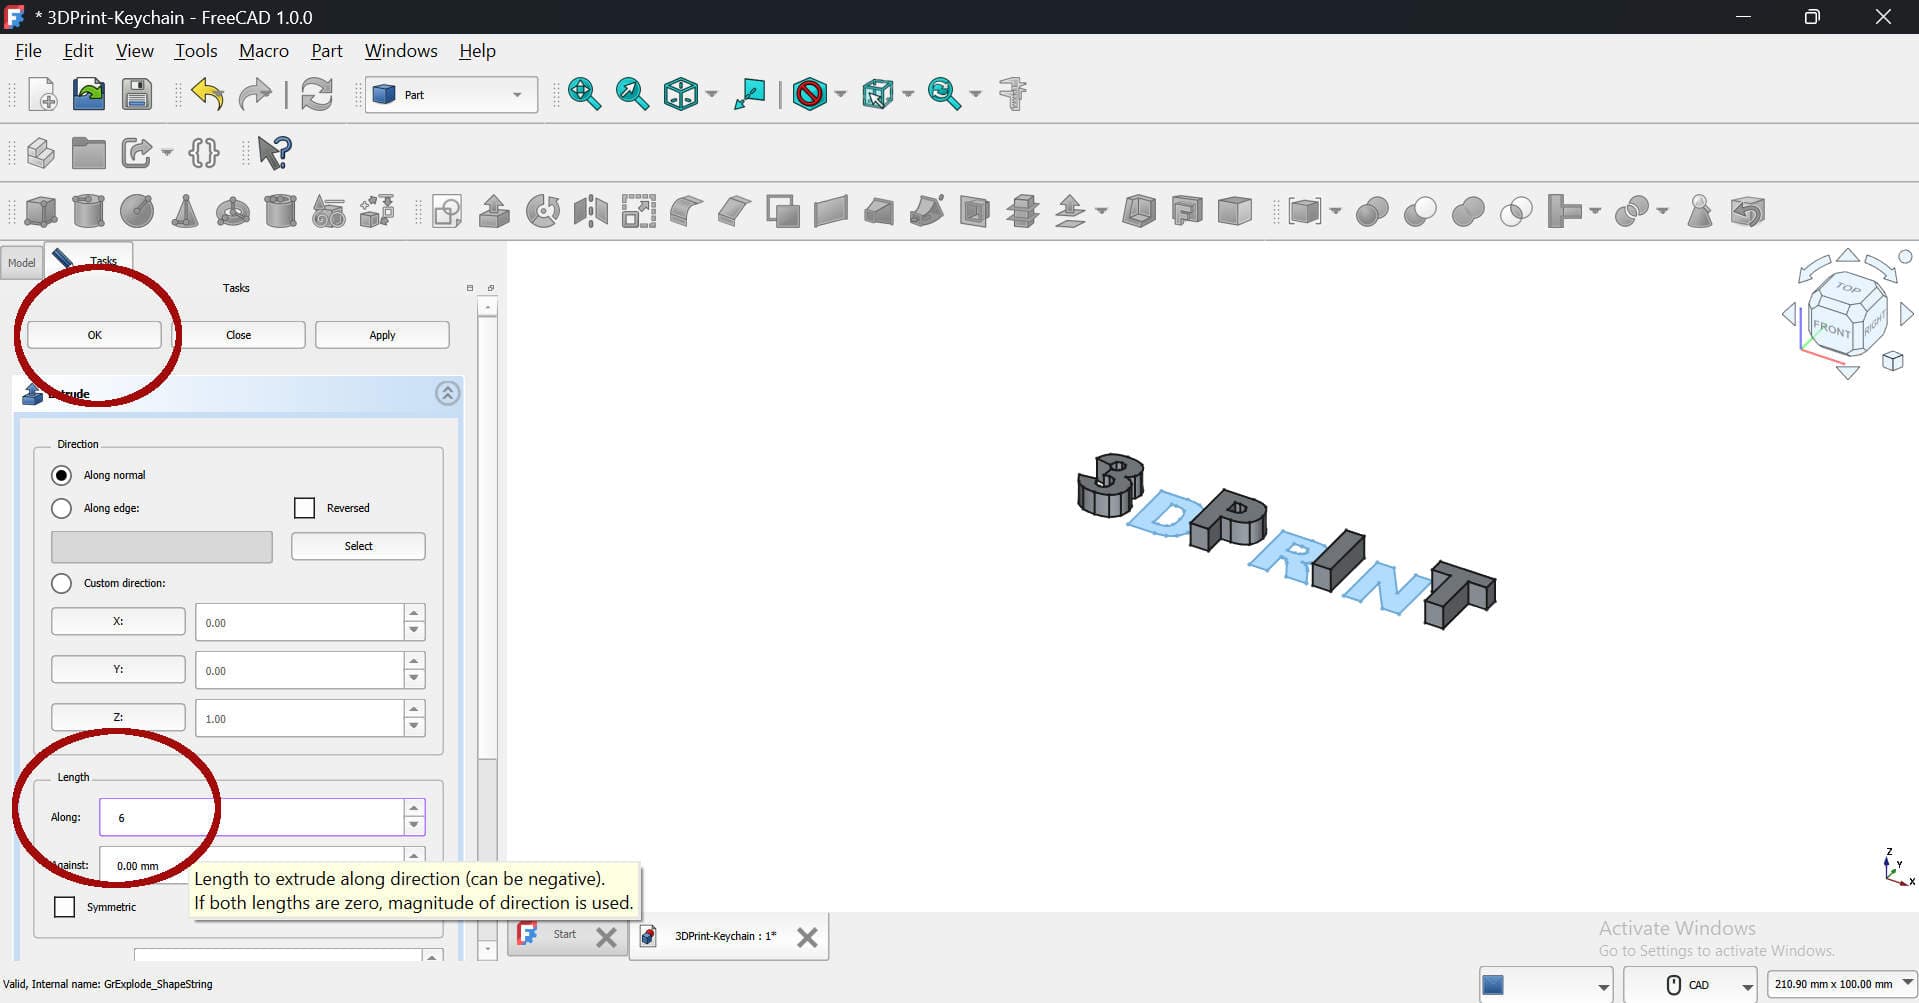
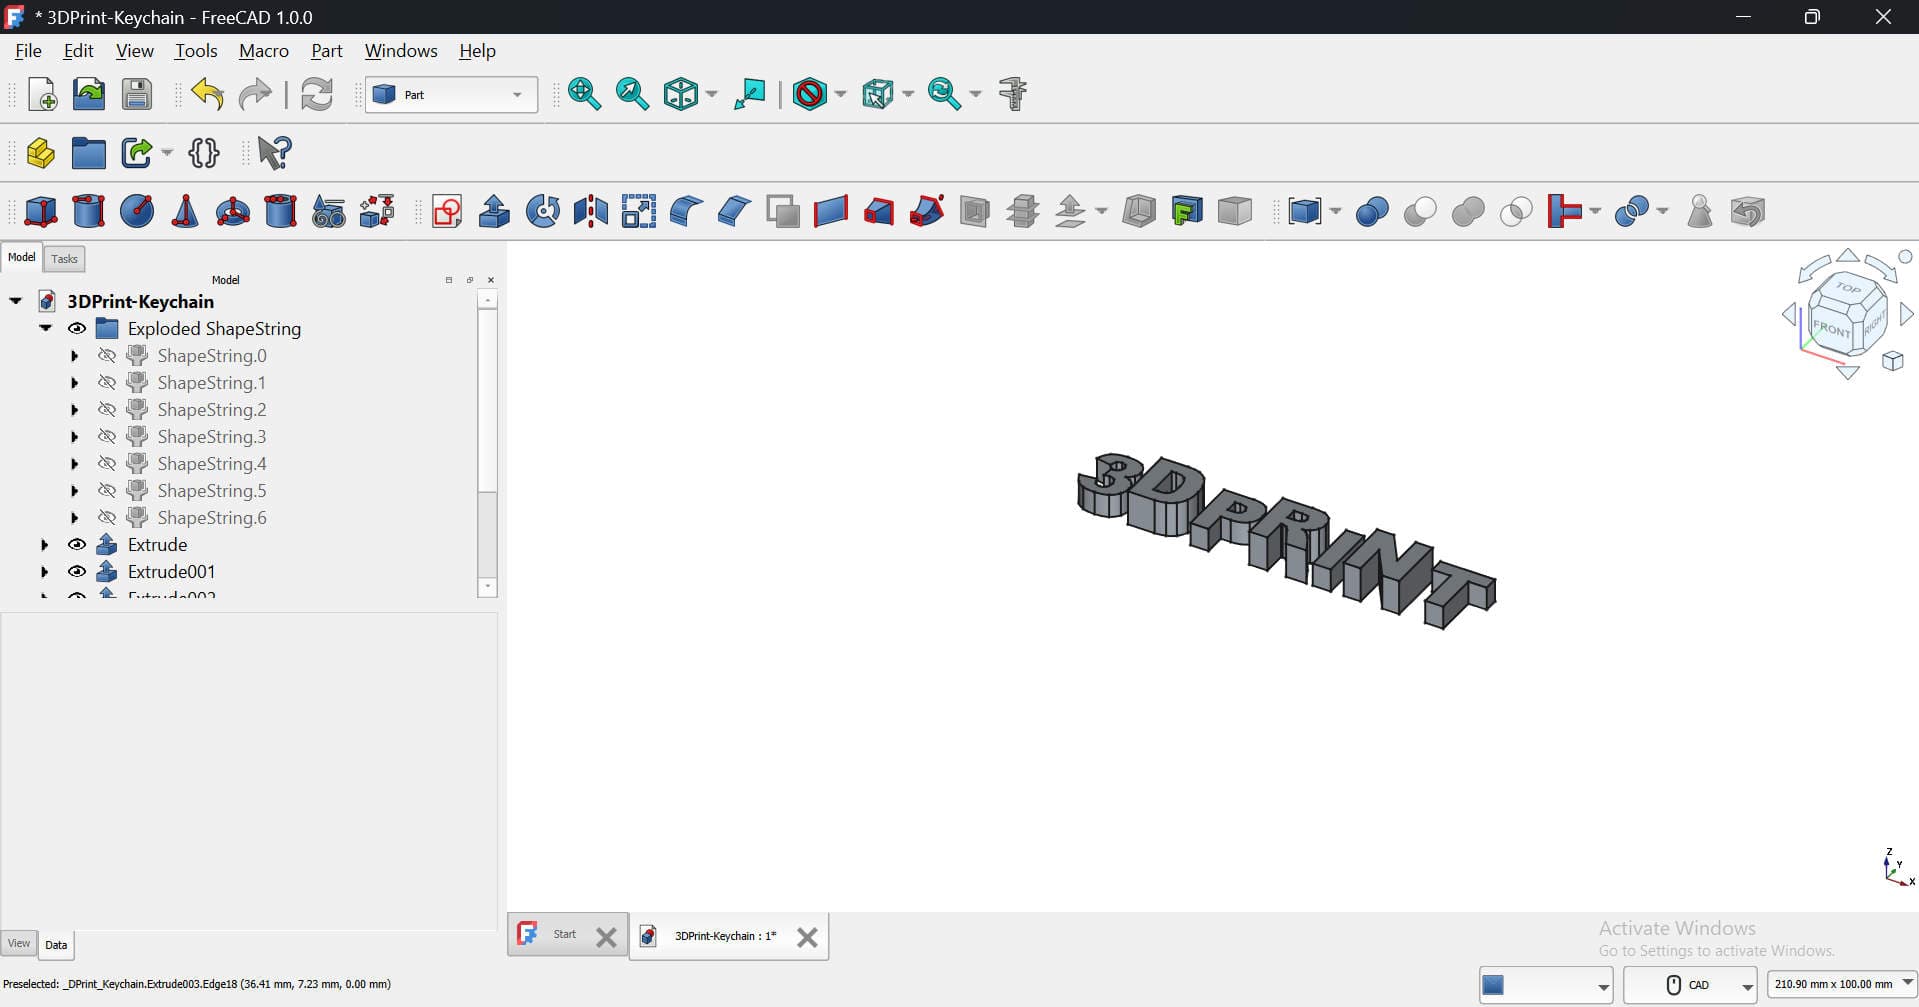
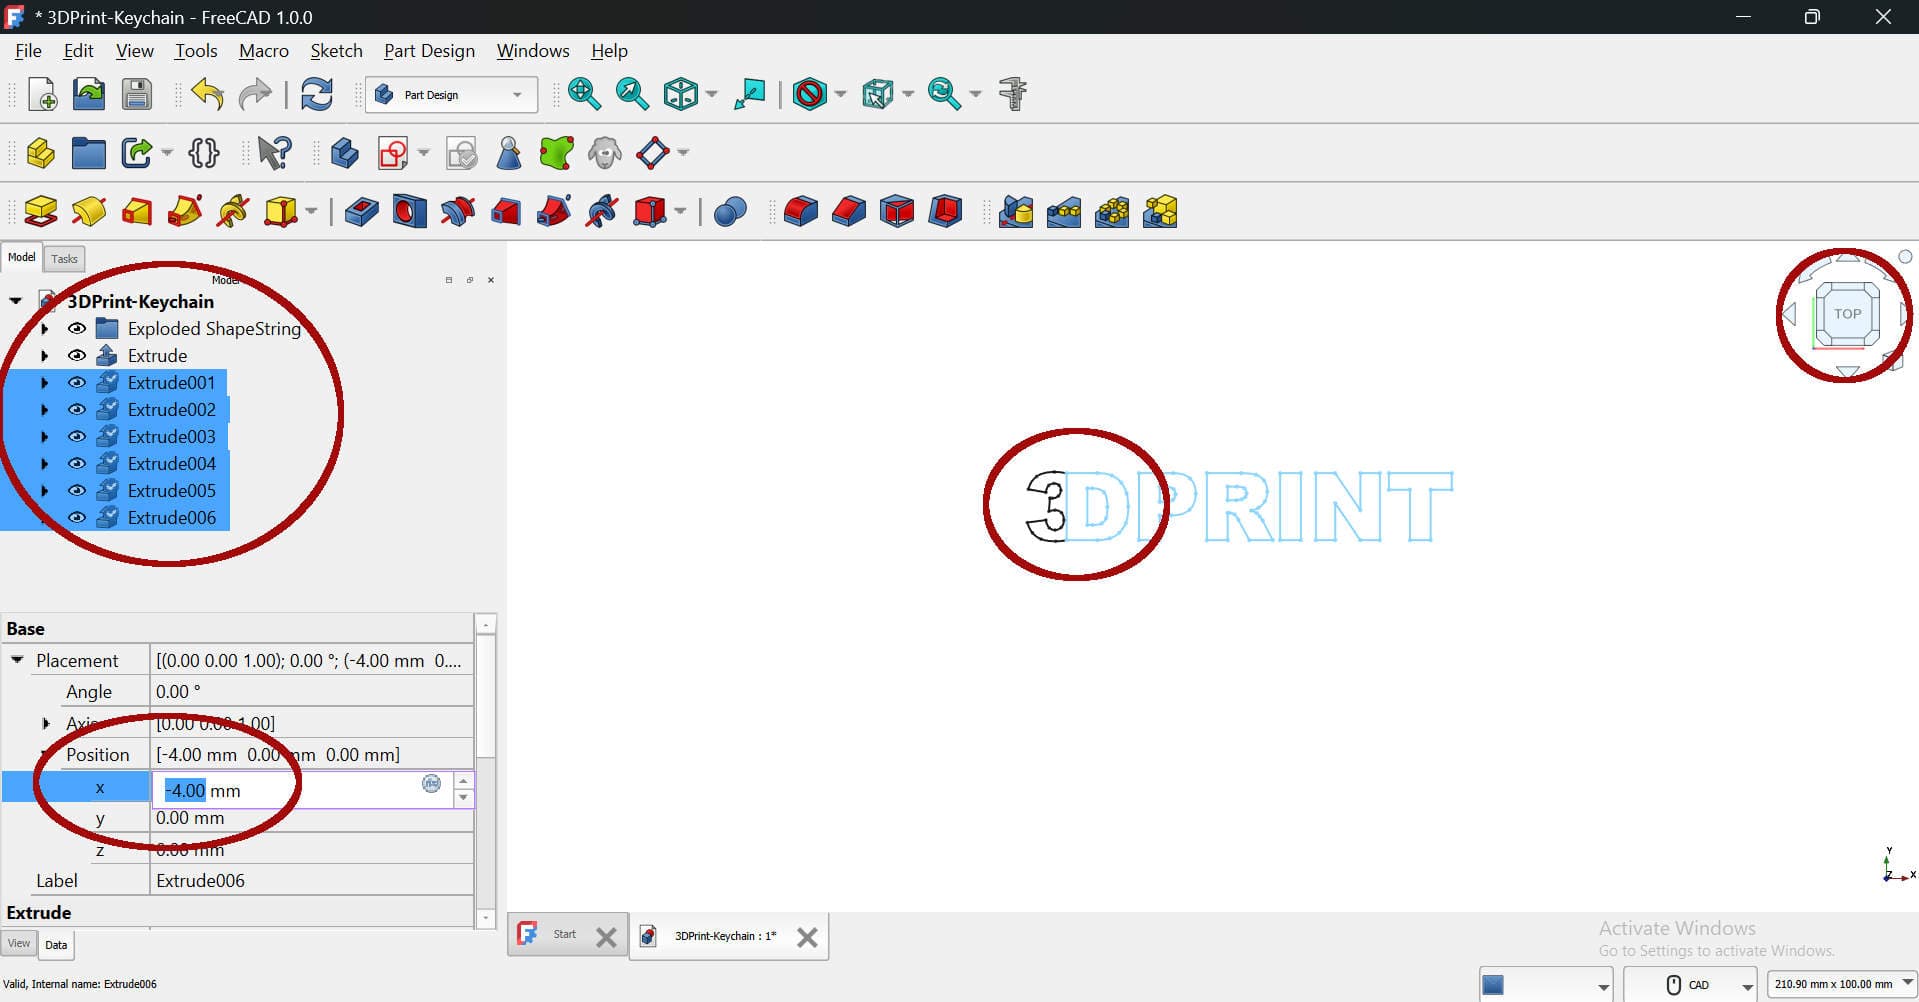
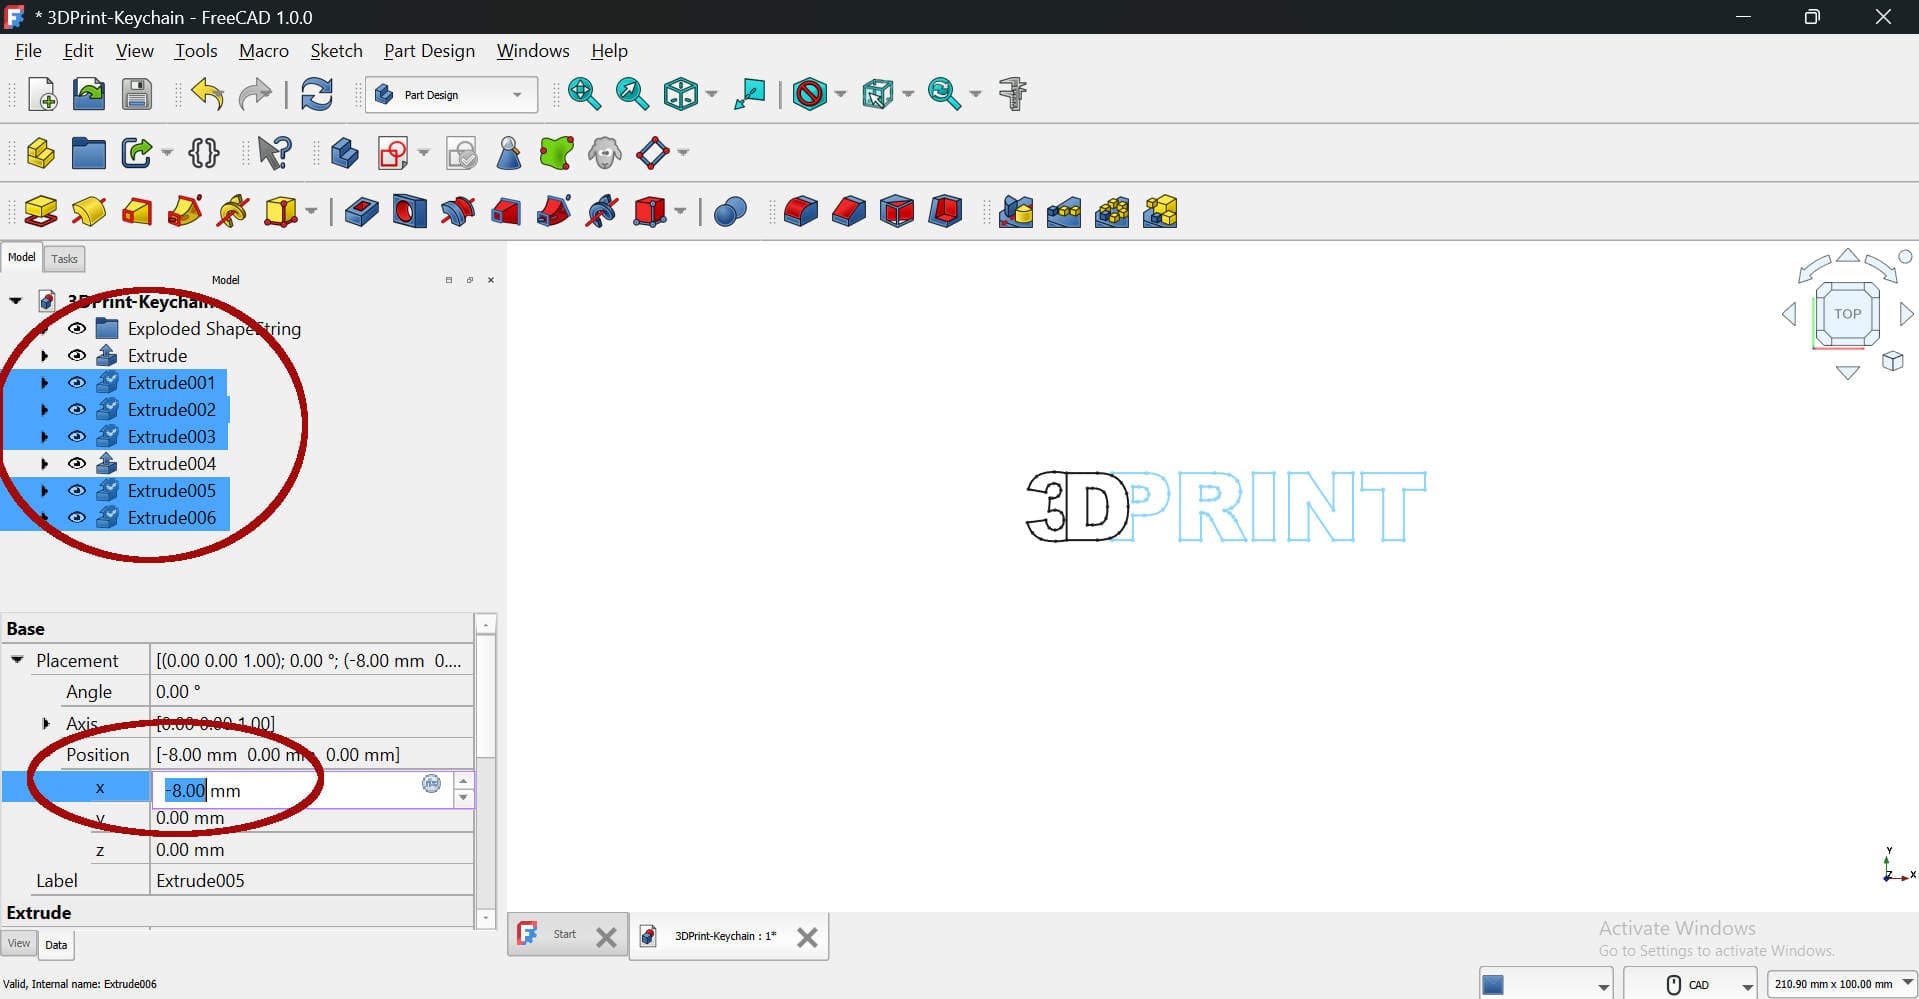
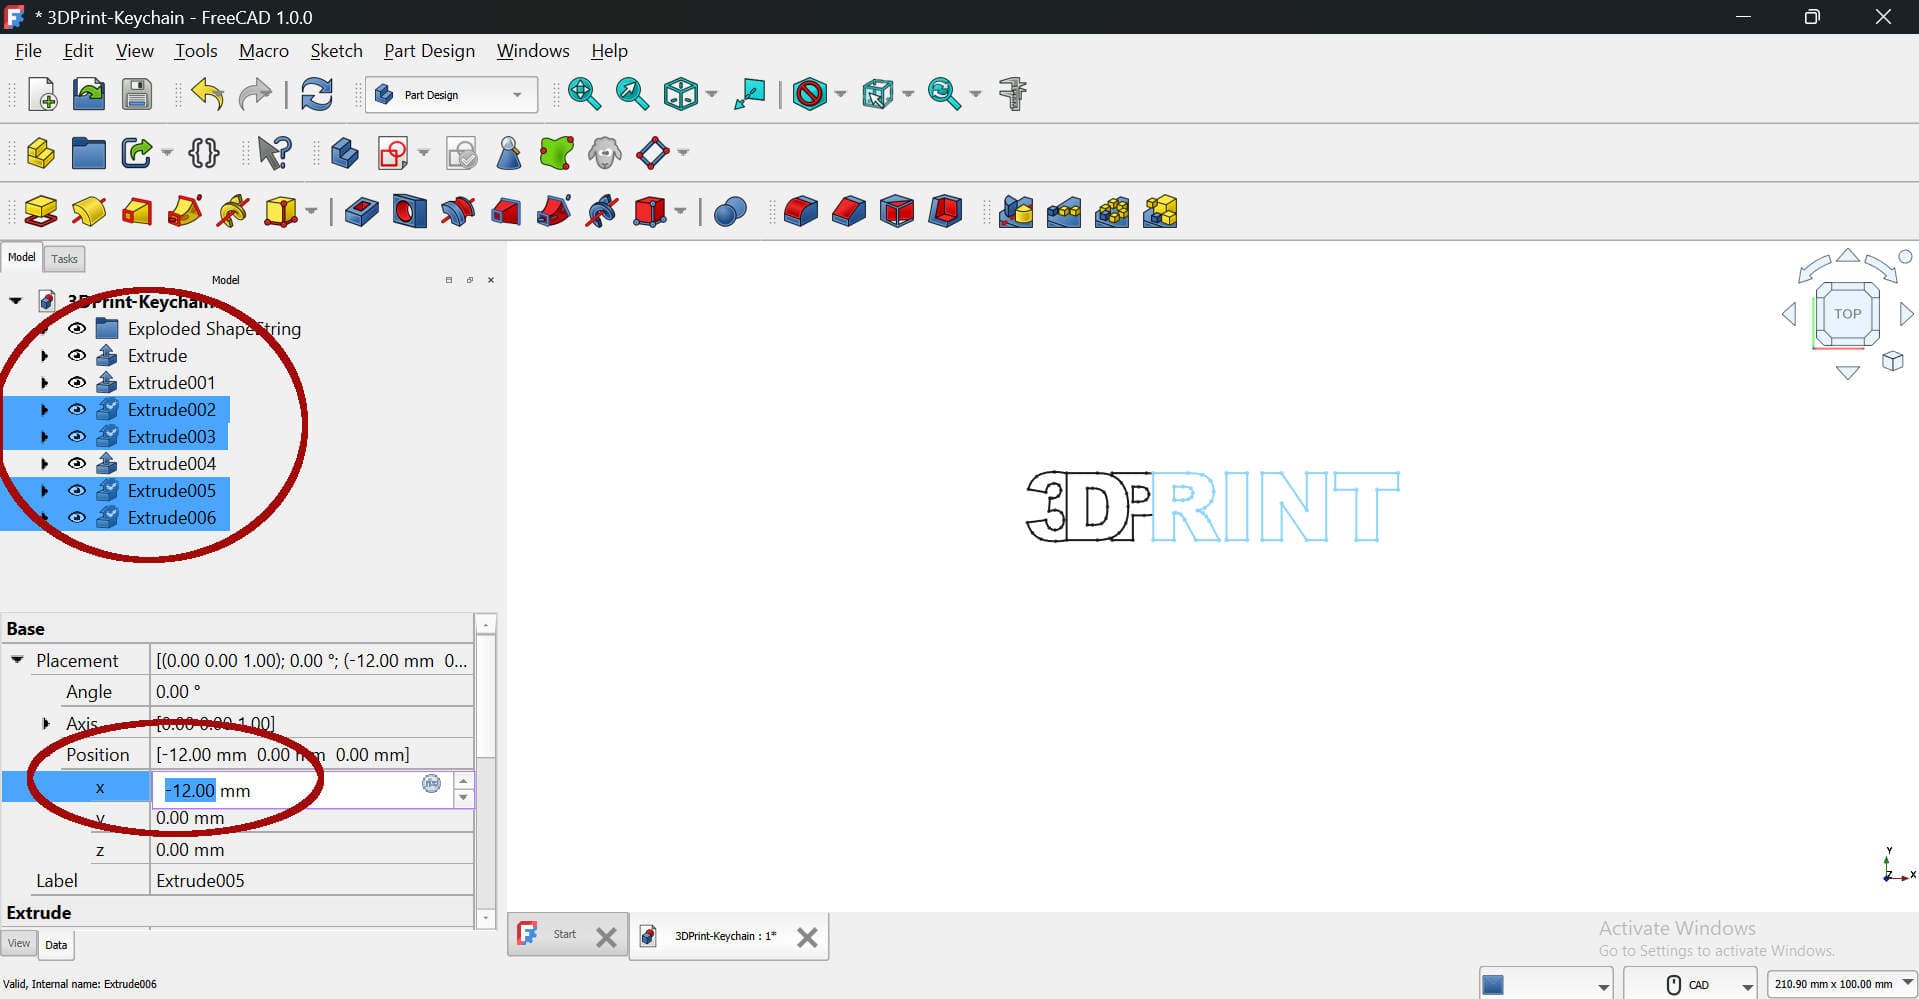
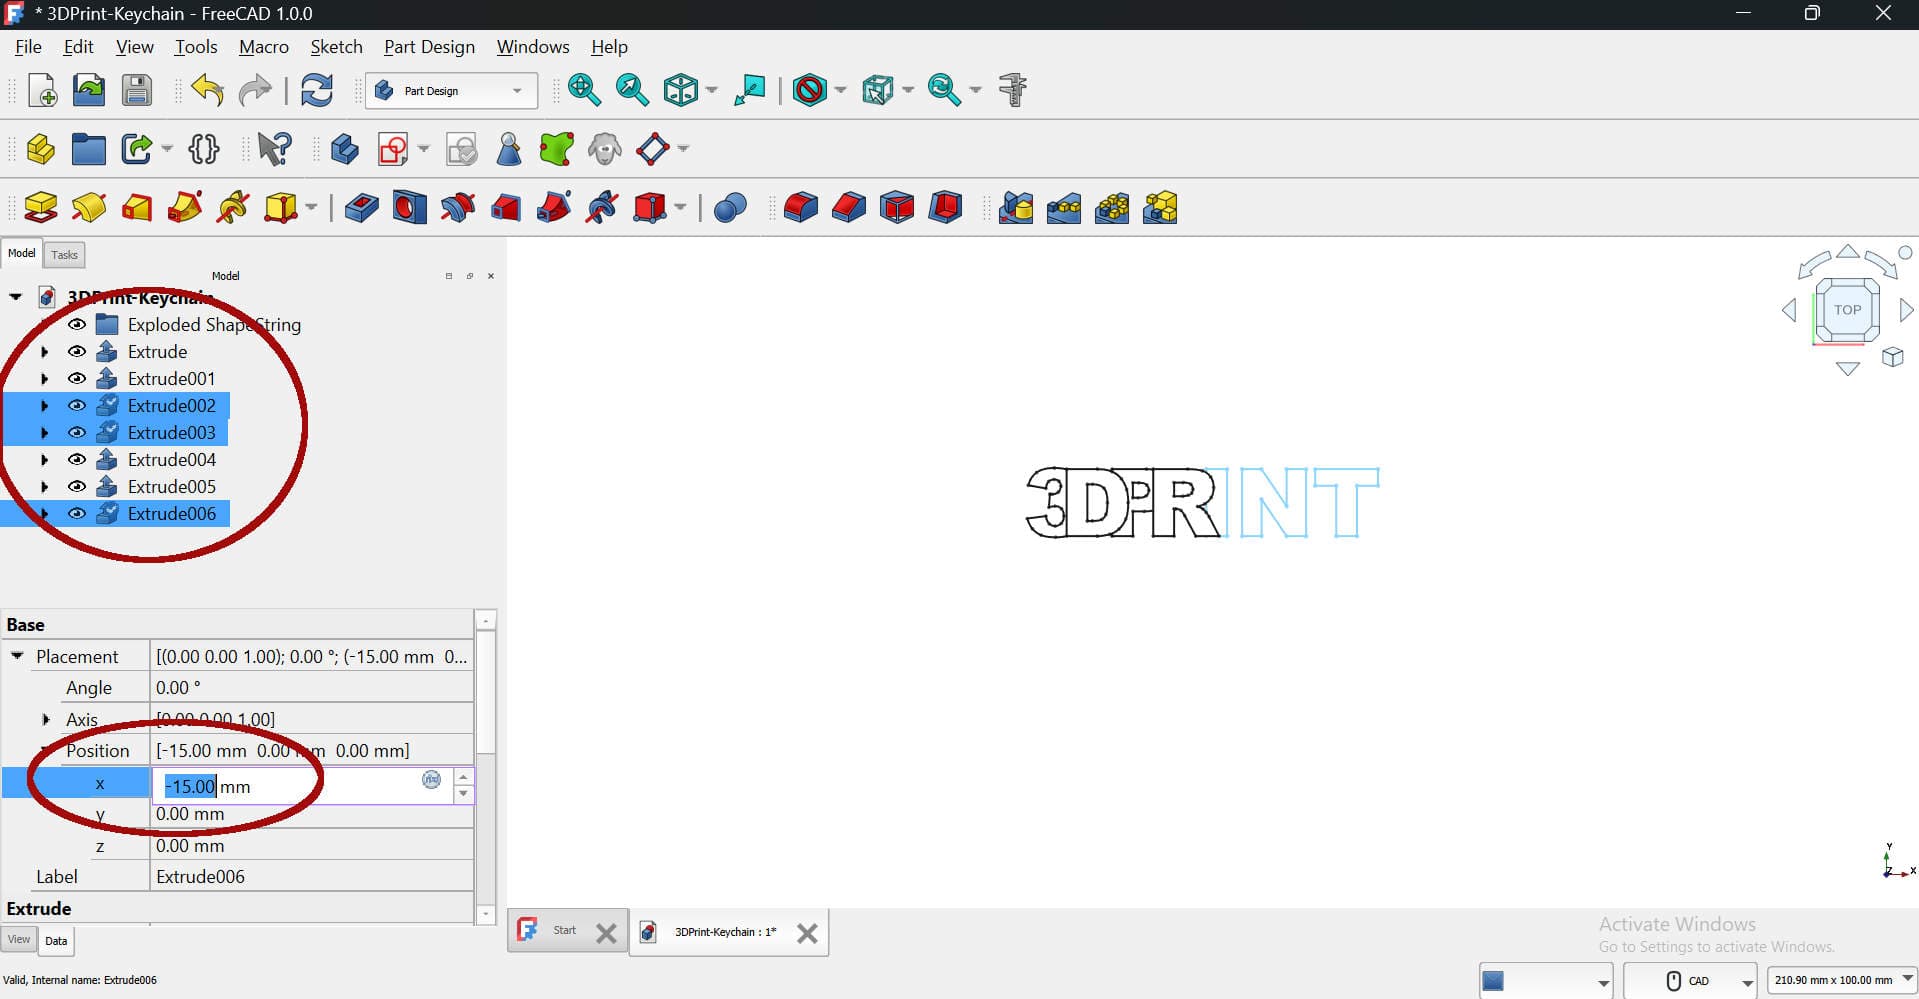
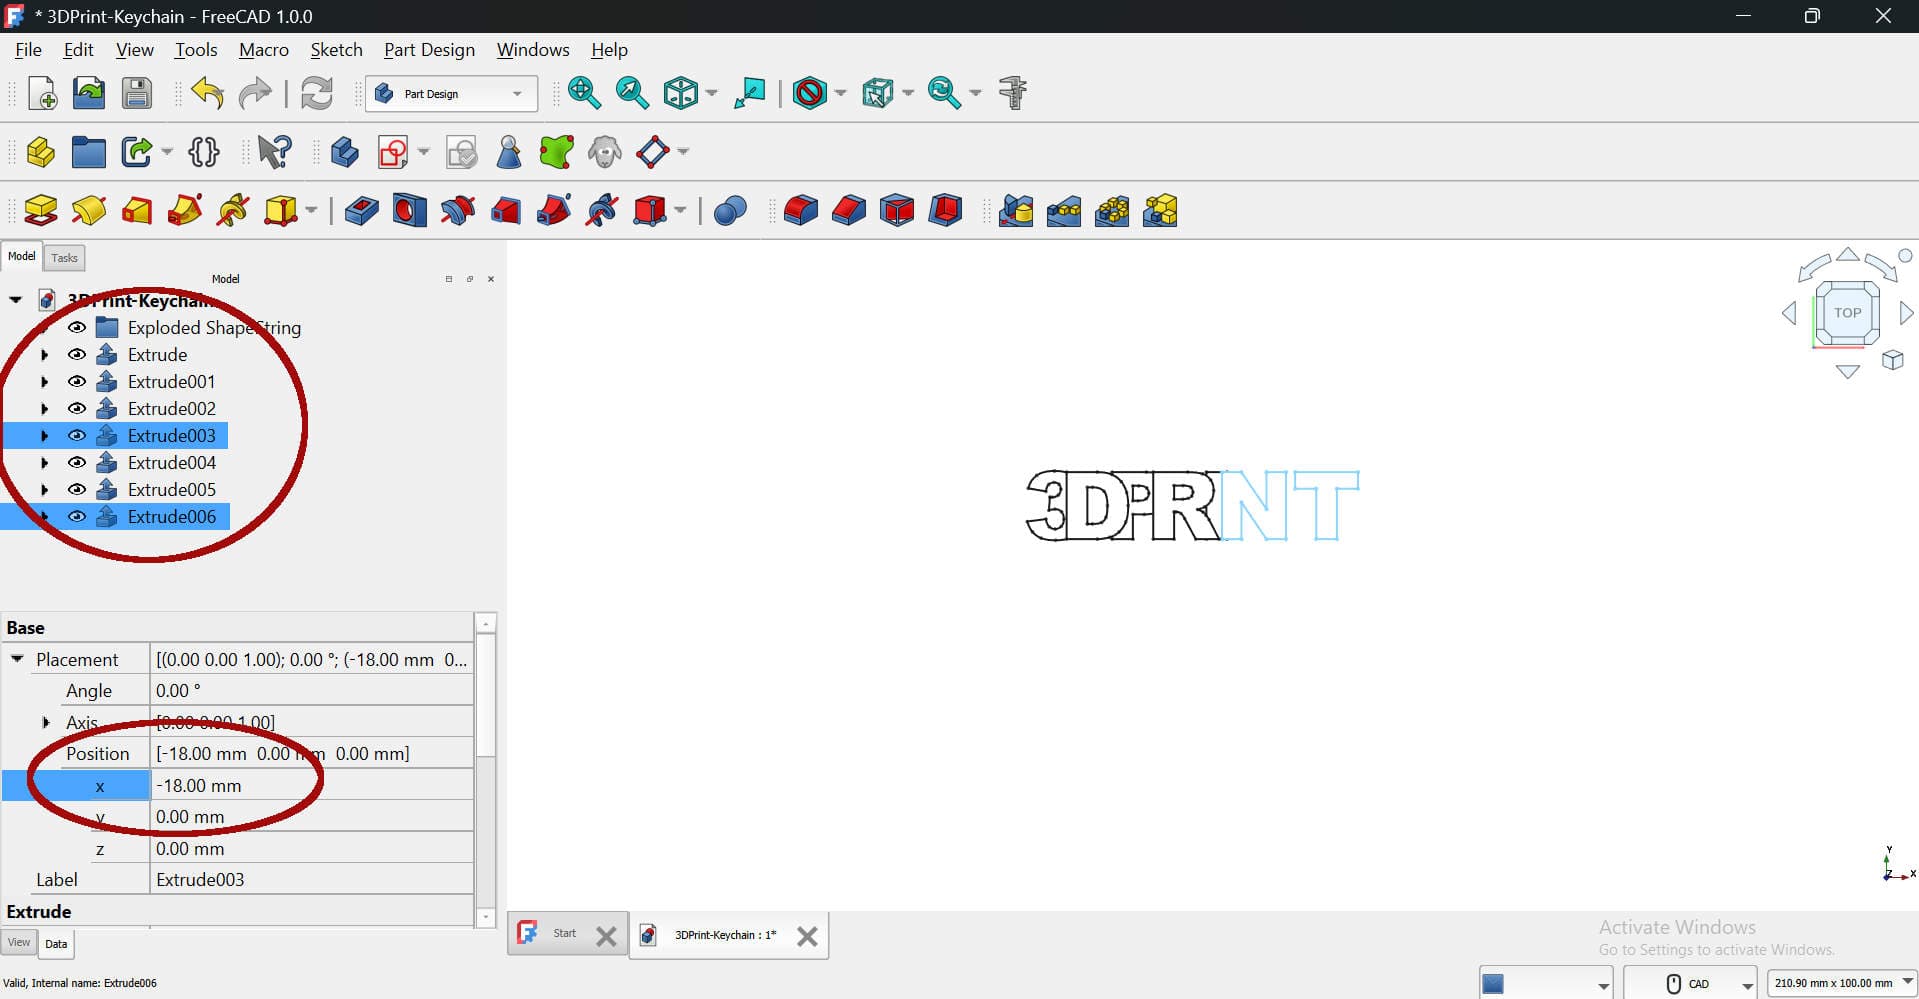
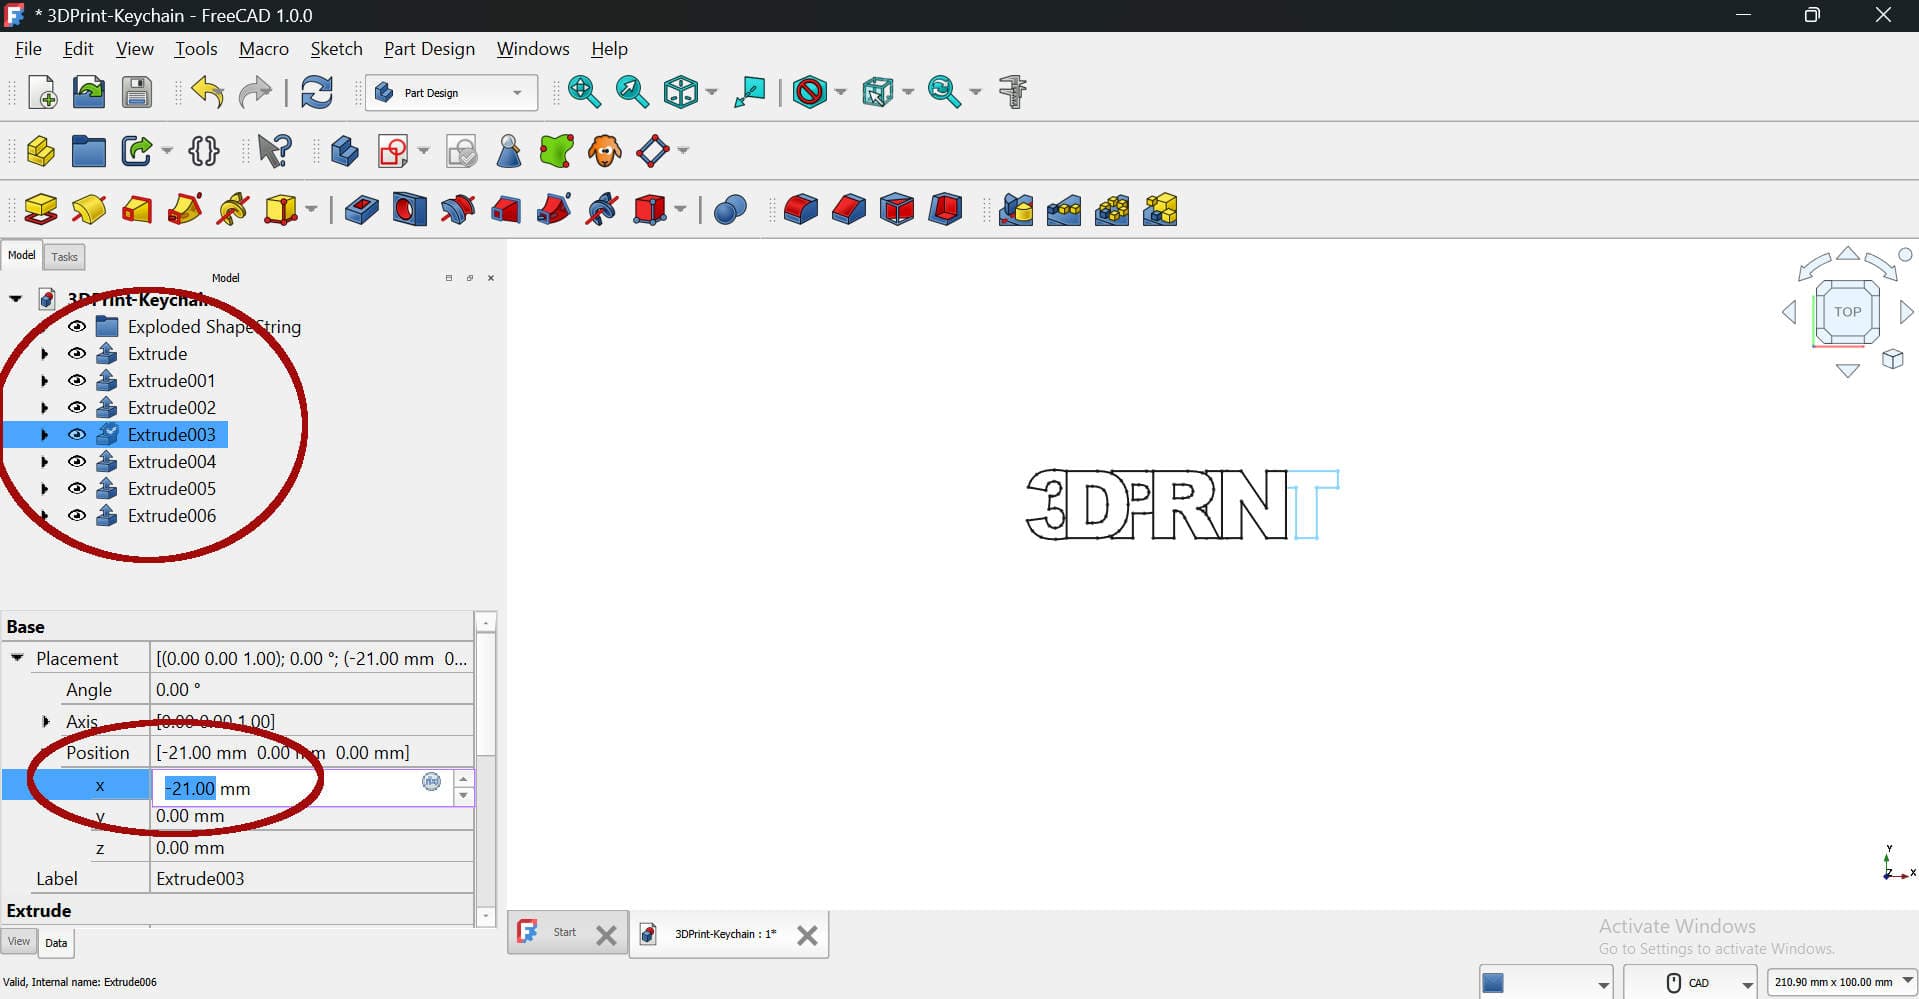
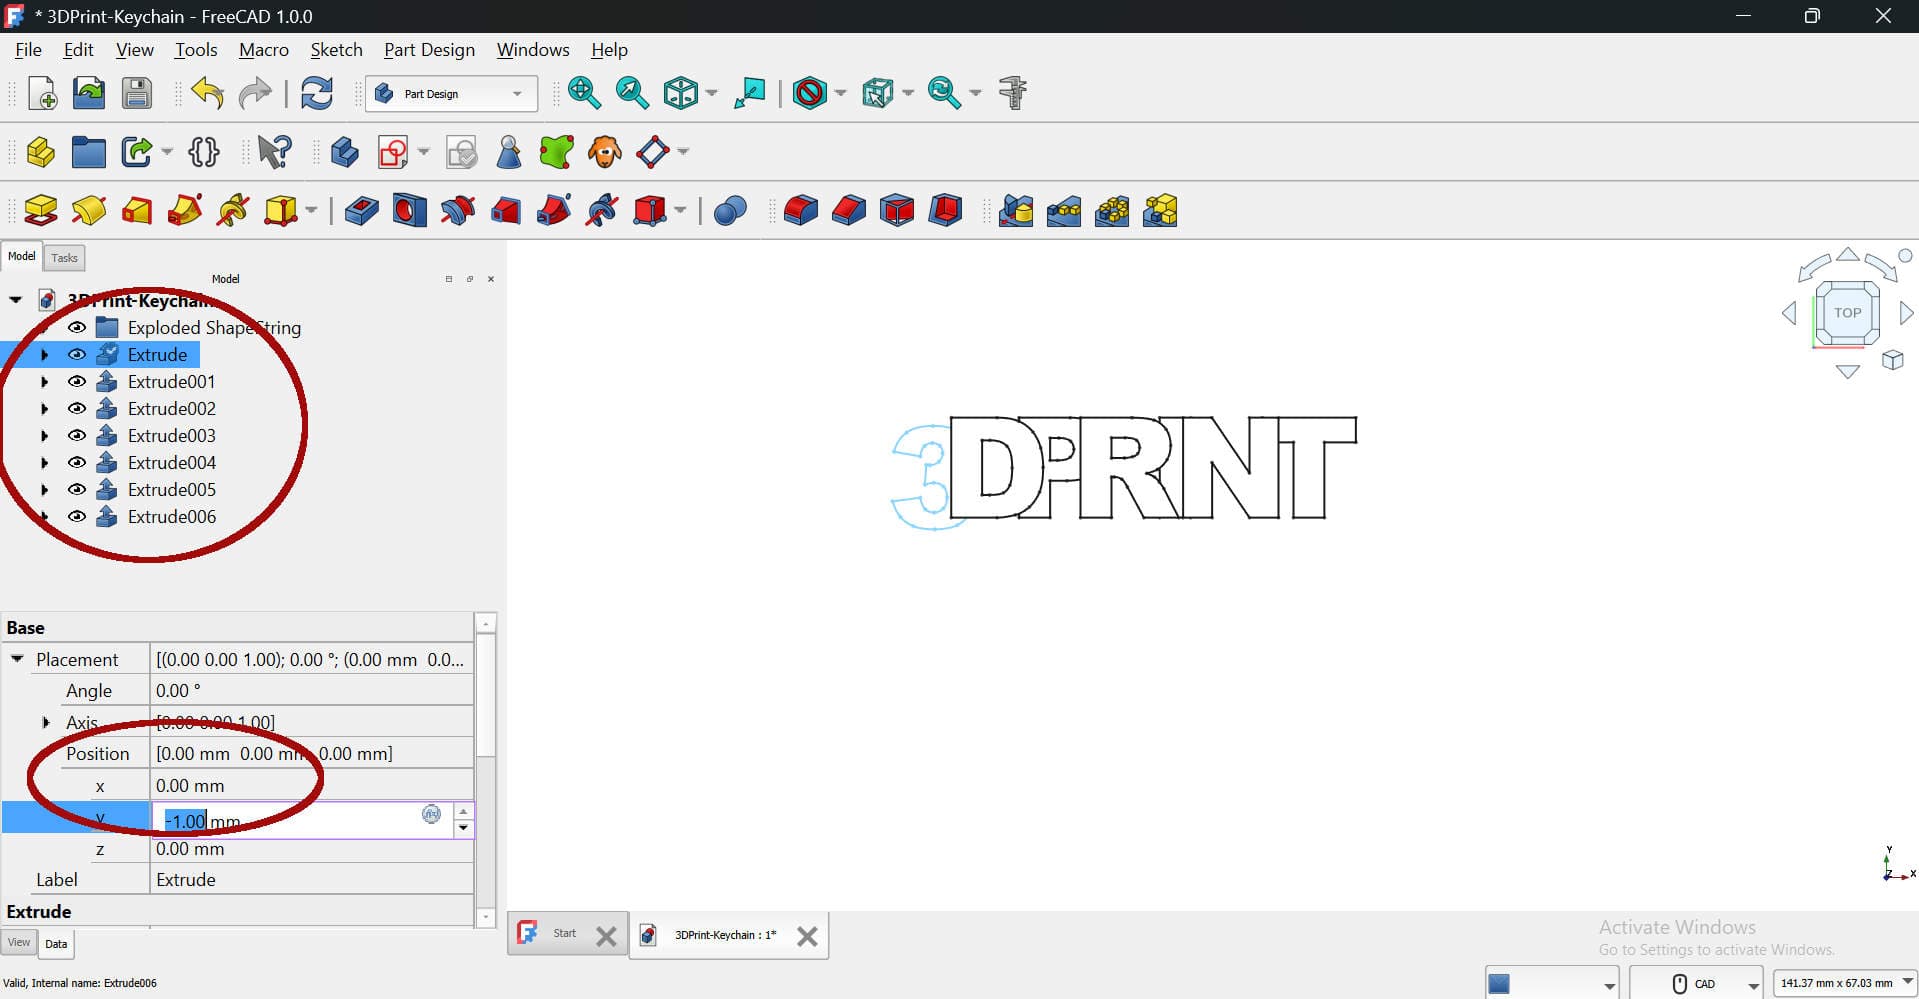
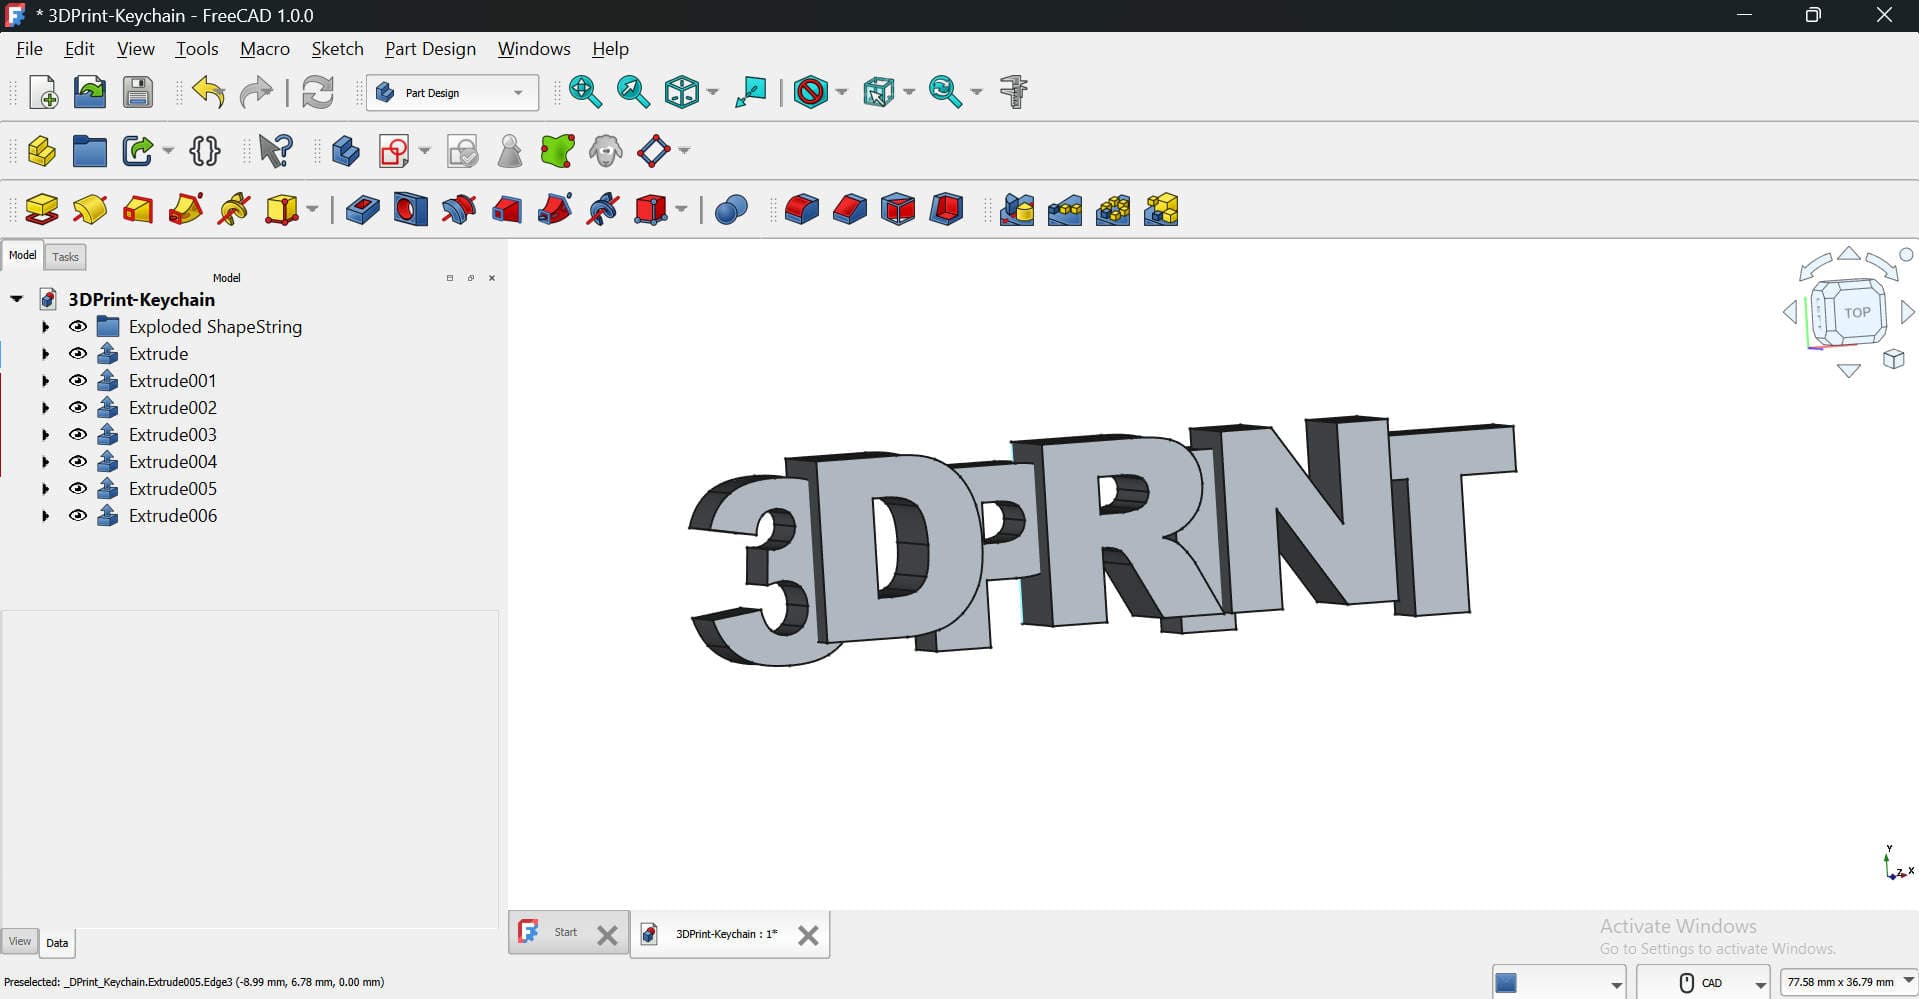
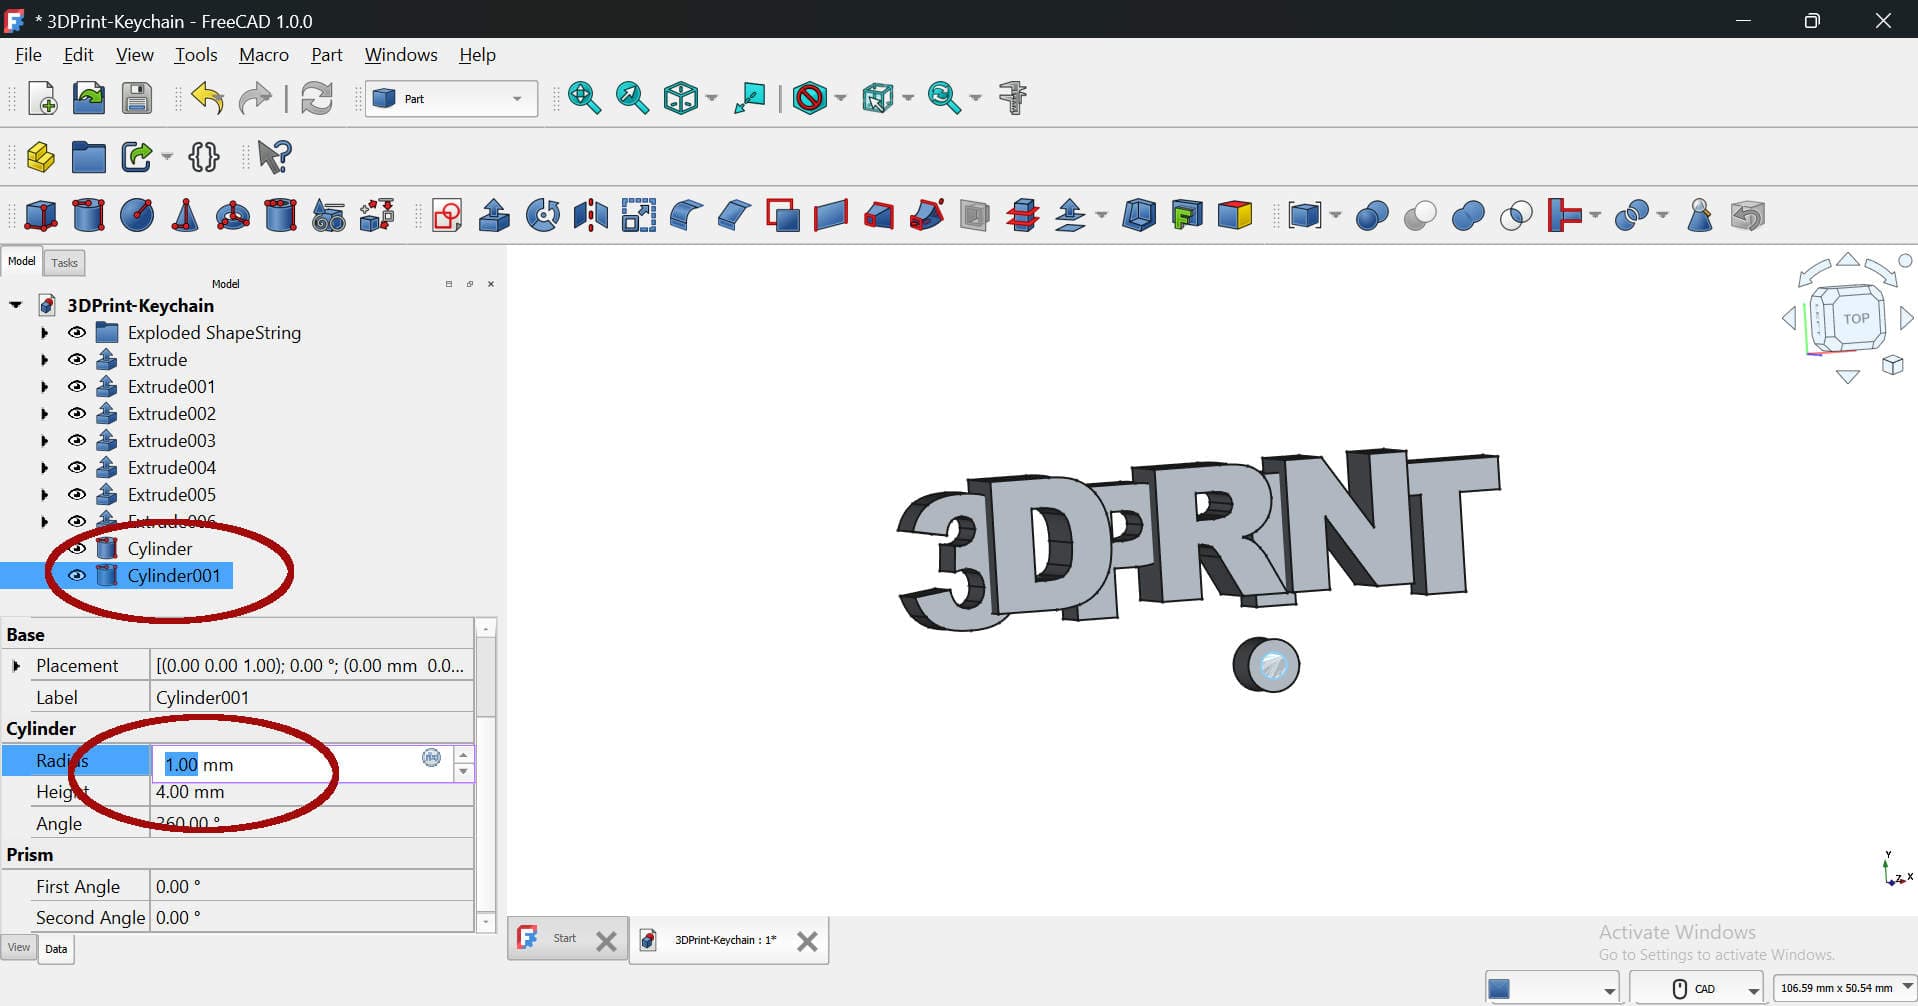
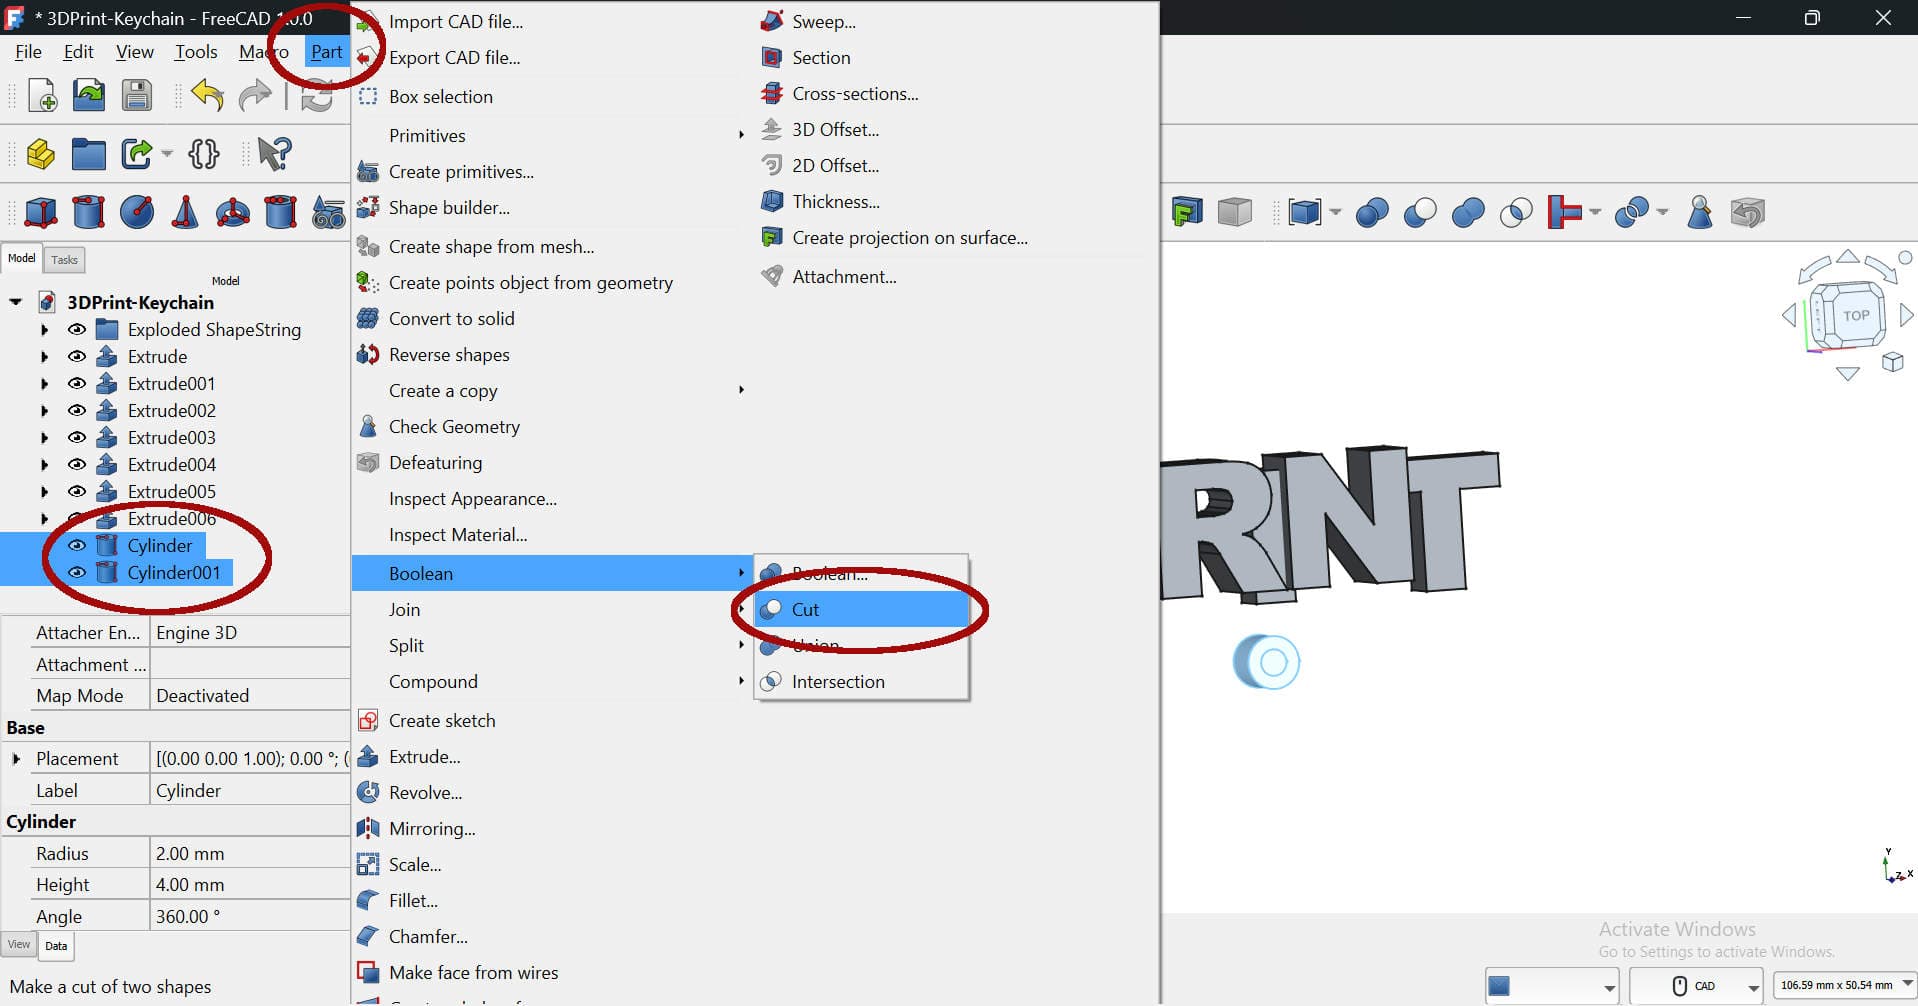
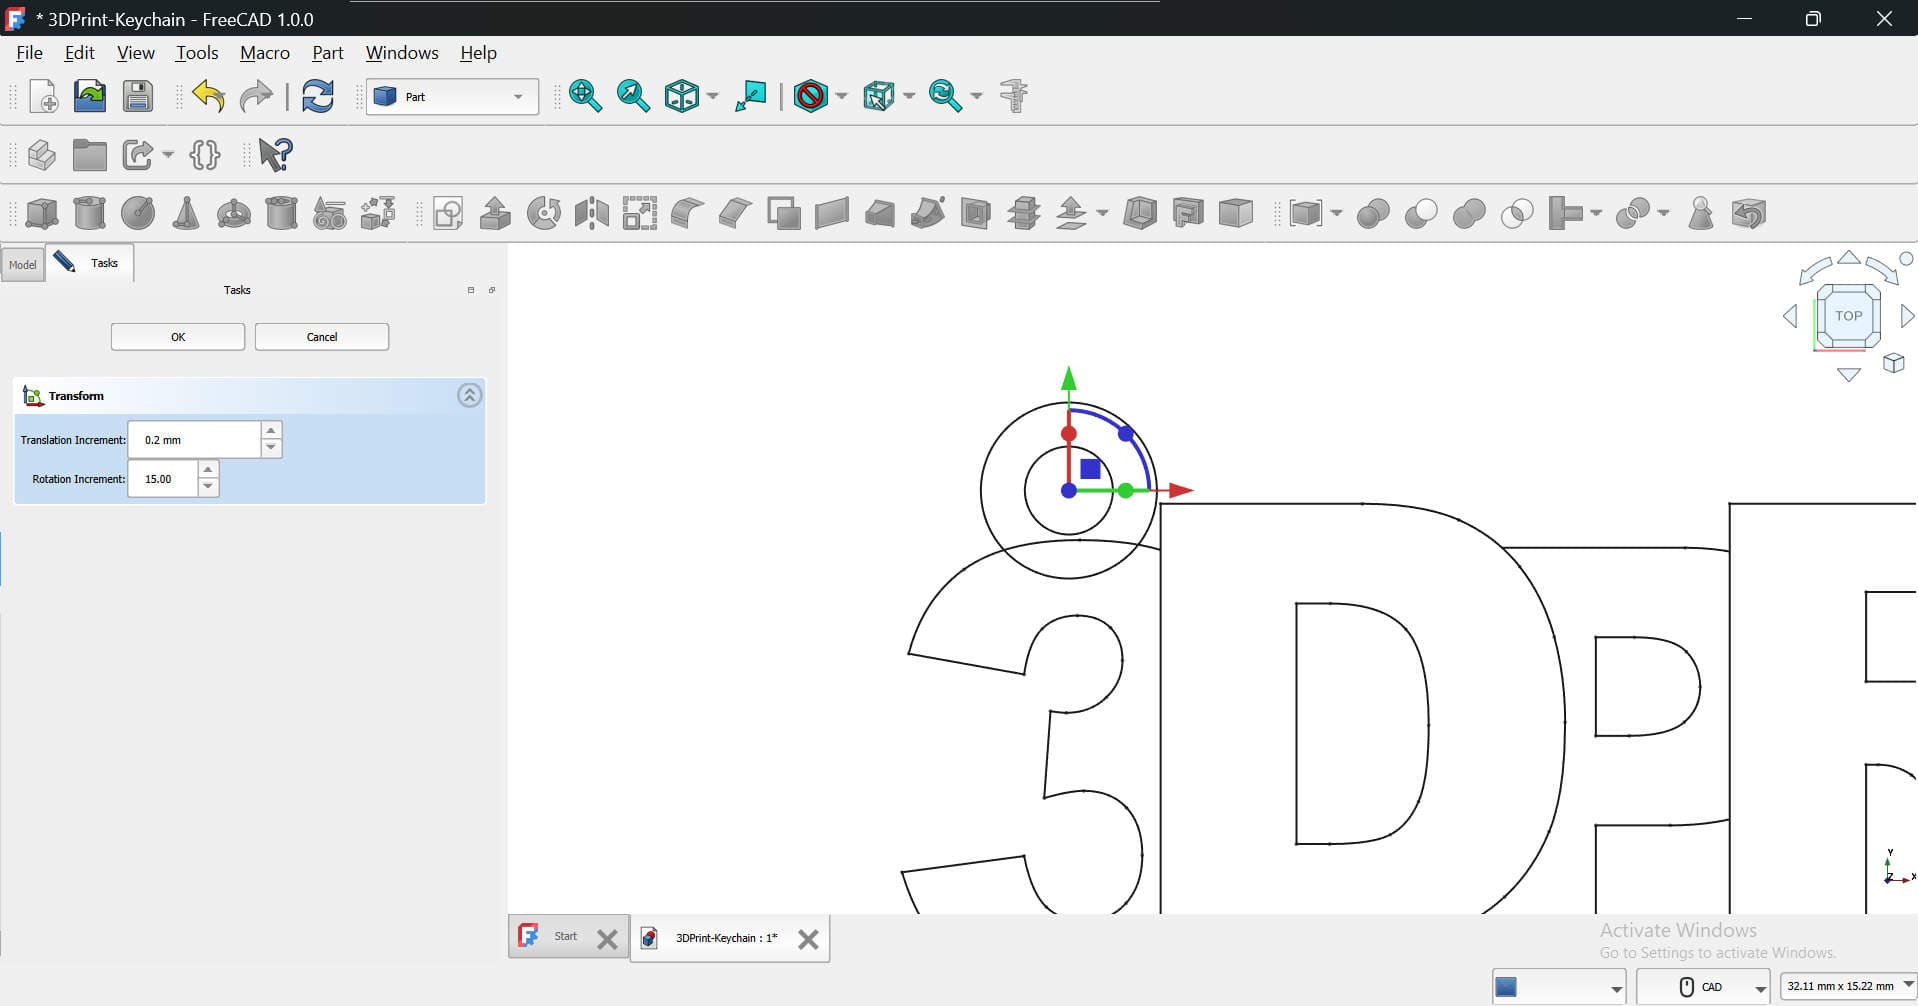
Orient the view port for a top down view. Next we will nudge the letters together so they overlap. For this use the X position field underneath Base > Placement > Position in the Model tab with the letters selected.
You can toggle different views to visualise the model from different angles. Use the mousewheel to zoom in and out, the middle mouse button to pan the view around. Shift+Right click to rotate the view. You can also shift the letters around along the Y axis to make the composition more interesting.
From Digital to Physical: Preparing for 3D Printing
TopOnce you're happy with your design, it's time to export it as an STL file. This is the standard file format for 3D printing. Go to "File" > "Export" and choose STL. Think of an STL as a digital blueprint for your 3D printer.
Next, you'll need slicing software like Cura. This software takes your STL file and slices it into layers, creating instructions for your 3D printer. Don't get bogged down with all the settings at first. Focus on layer height, infill, and supports.
Here’s what I recommend for PLA:
- Layer height: 0.2mm (good balance of speed and detail)
- Infill: 20% (strong enough but not wasteful)
- Supports: Not needed for this design but necessary if the design has overhanging features or long bridges.
It is important to "Enable brim" on small prints or the object can wobble loose mid-print. Always use a brim for tiny objects!
Before you hit print, make sure your printer is ready. Load the filament, level the print bed, and double-check your settings. Bed leveling is crucial; otherwise, your print might not stick properly.
Finished Product: Your 3D Printed Keyring
TopDepending on the complexity, size and infill structure of the design, your keychain can take from 10 minutes to over an hour to print. When the print is finished carefully remove it from the print bed. You might need to use a spatula or scraper. If you used supports, remove them gently.
You can sand or polish your keychain for a smoother finish. I personally like to use fine-grit sandpaper for this. Finally, attach your keyring, and voila! You've created your very own 3D printed keychain.
Don't stop here! Explore FreeCAD, experiment with different designs, and share your creations online. There's a whole community of makers out there who are eager to see what you come up with. And remember, every successful print is built on a few failed ones, so don't be discouraged if things don't go perfectly at first. Keep making, keep learning, and keep having fun!
Happy printing!