Character animation using inverse kinematics in Adobe Animate
This article shows an example of Inverse Kinematics and the bone tool in Adobe Animate. This technique is useful for character animation.
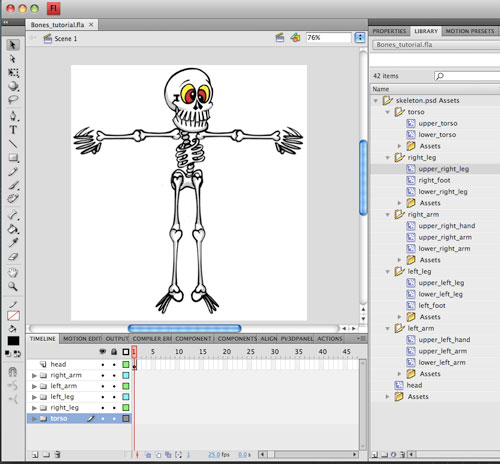
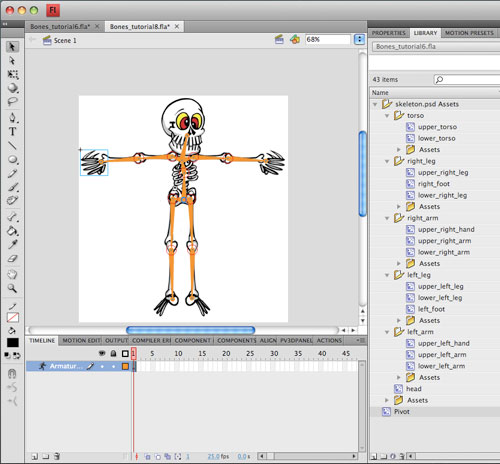
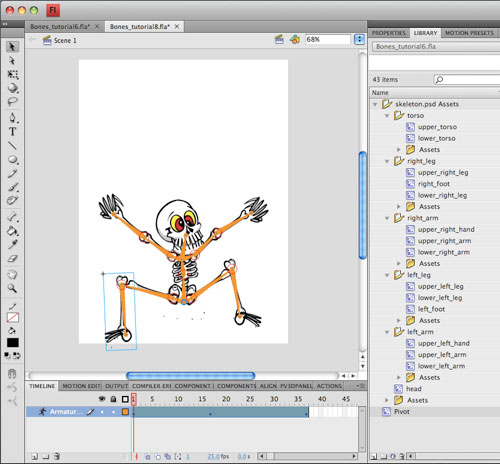
Firstly we need to divide all of the limbs of the character into movie clips. A photoshop document version of the character can be downloaded here and the source file here. In the screenshot below we can see several movie clips denoting different parts of the character.
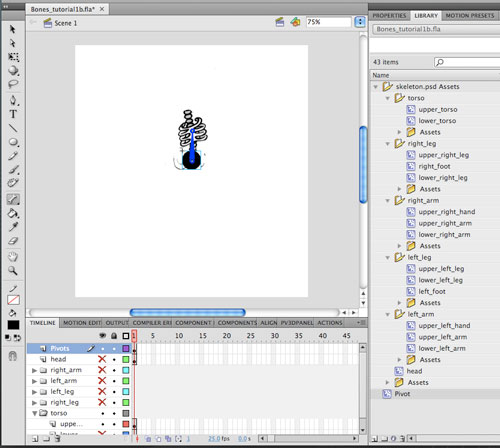
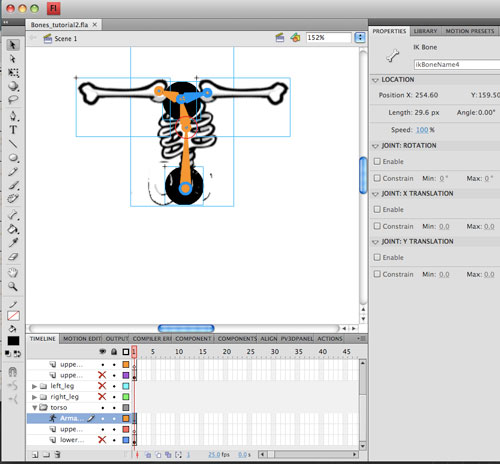
To help build our kinematic structure we will create anchor points. These points will connect all of the limbs together. The anchor points can be seen in the screenshots and are represented by black circles. Our first anchor point is linked to the torso using the Bone tool. (Hot-Key x.)
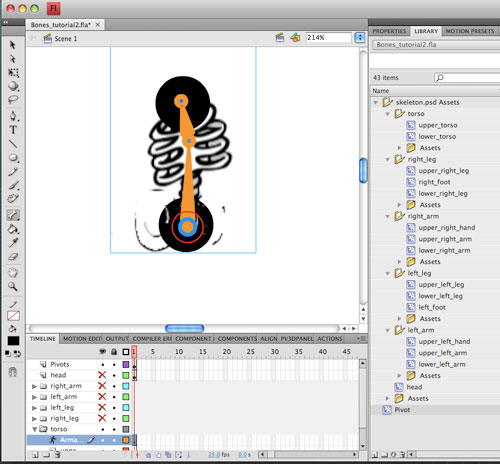
Next we create a second anchor point in line with the shoulders and extend our bone structure to it.
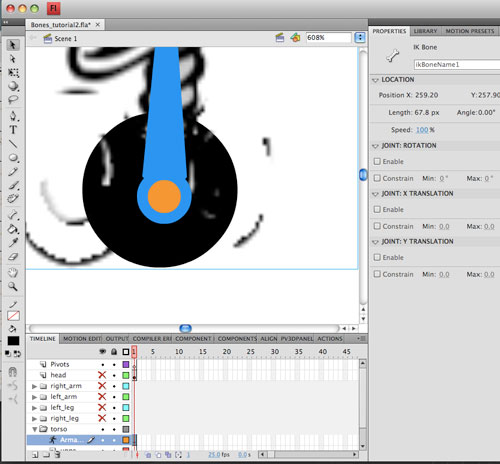
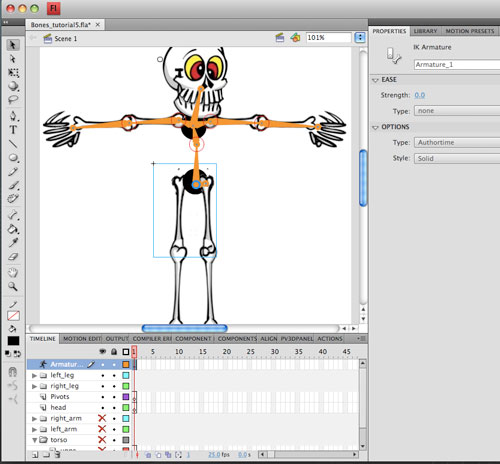
Next we will need to fix our first anchor point in place. This is important to the stability of our bone structure. Because all of the other bones stem from this point it can not rotate itself. Click on the first bone structure stemming from the first anchor point and uncheck The 'Enable' check box under Joint rotation in the properties panel.
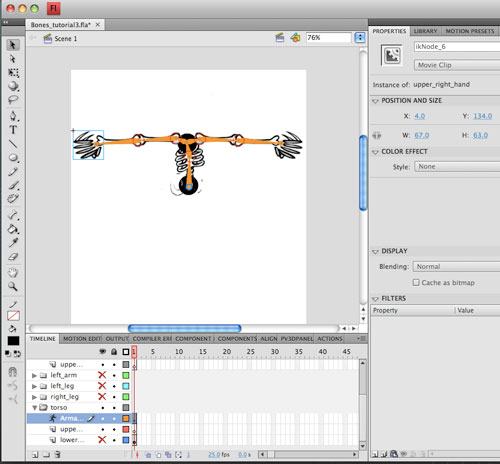
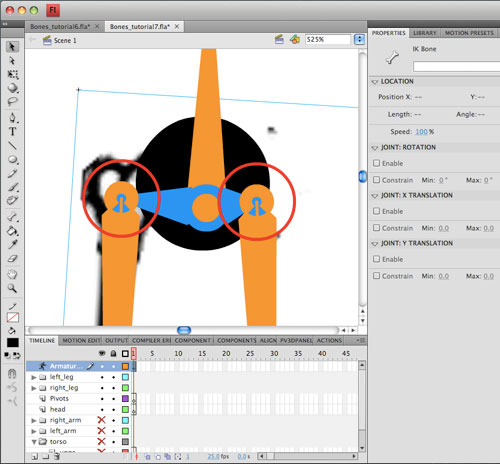
Next we bring in our arms and extend the bone structure, carefully placing our end points in line with the sockets of the bones. We also need to turn off joint rotation for these two bones. Otherwises the arms will disconnect from the shoulders when we start to move the character around.
Continue the bone structure out to the hands.
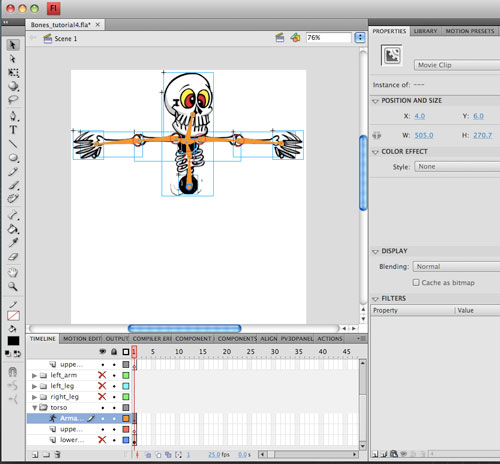
Next we add in the characters head.
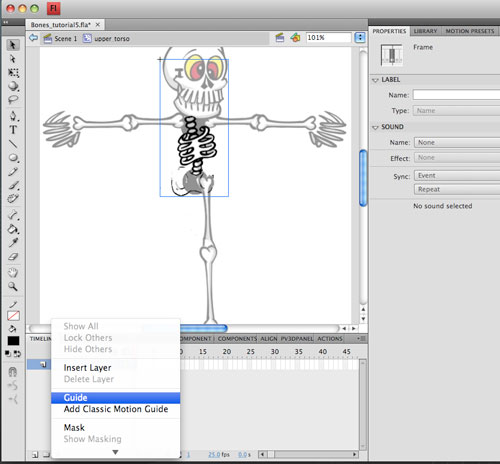
Before we move on to the lower body it will be convinient for us to hide the torso, otherwise it may get in the way of the leg bones. Unfortunately when we use the bone tool, all connected movie clips must remain on the same layer, so we can't simply hide the layers we want out of the way. One work around is to edit the individual movie clip we want to hide and turn it into a guide.
With the torso out of view we can extend our bone structure to the legs.
The two bones stemming out from our lower anchor point will need to have joint rotation disabled otherwise our legs will detach from the rest of the animation when we start to move them around.
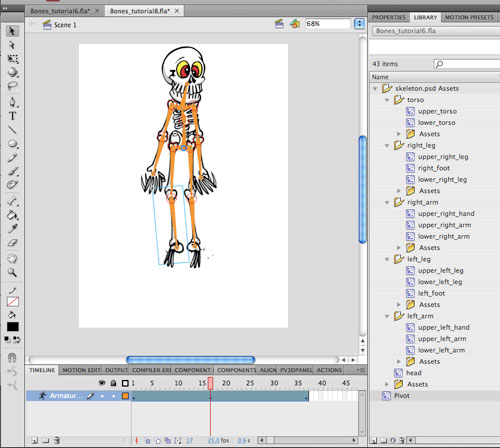
Our completed bone structure. Note that we have hidden the anchor points by changing their alpha values to zero.
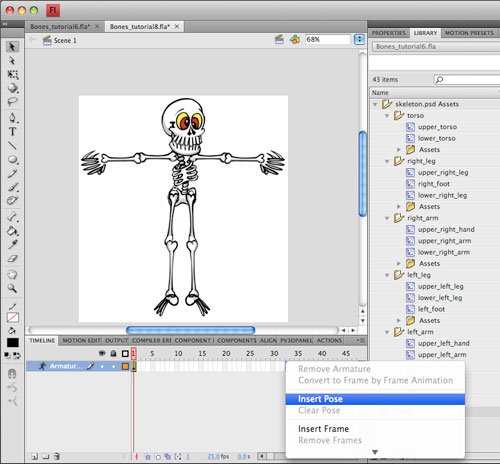
Inverse Kinematics works a little differently to timeline animation in Flash. Notice that our bone structure sits on a special kind of layer called an armiture layer. On these layers we do not have keyframes. Instead we have 'poses'. The below screenshot shows us adding a new pose.
Here we will create two poses. Flash will animate all of the movement in between on our behalf. We can extend the animation to be as long or short as we like.
Results: