Variable Data Images: Adobe Photoshop Add On
Variable Data Images is a Photoshop Add On that let’s users merge variable data with a photoshop document.
The Add On allows variable text to substitute point or paragraph text in a photoshop template; including an option to automatically resize text if it causes overflow.
Layers in the photoshop template can be turned on or off for each image being merged based on variable data in the spreadsheet.
In addition one or more actions can be run on the photoshop template while merging.
Each generated image will have a filename designated in the spreadsheet and can be output in either JPG, PNG, TIFF, PSD with option for web quality images also.
Download: 
Demo
In the demo above the following data was used:
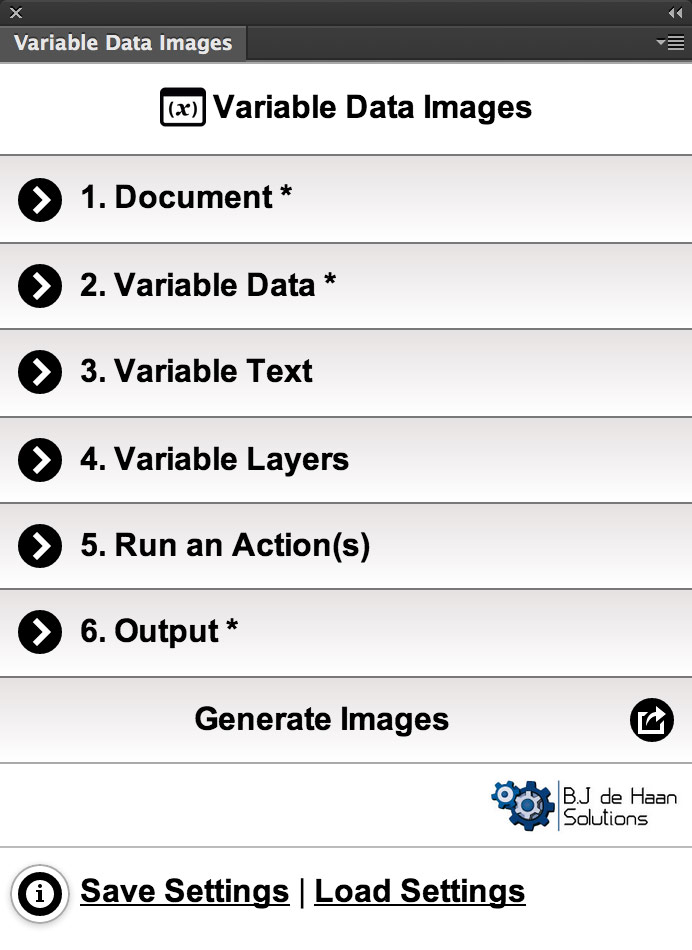
Add On Help
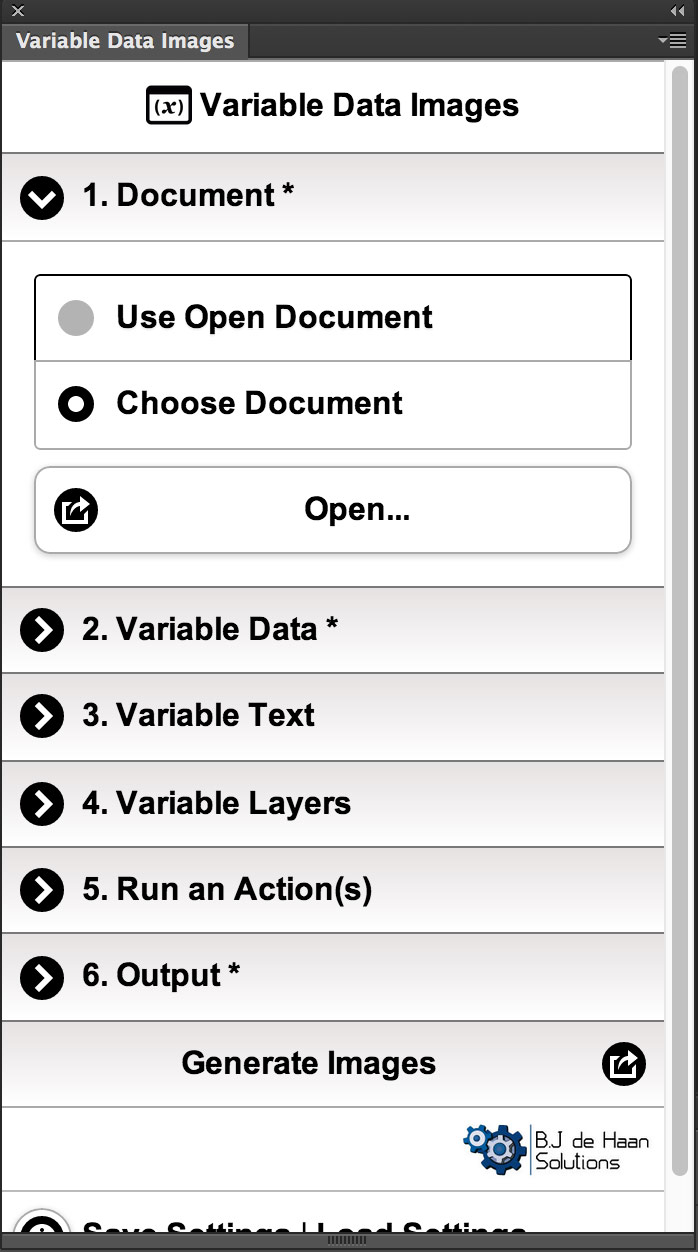
Step 1 – Photoshop Document
A photoshop document that includes text placeholders and/or layers that will be dynamically turned on or off needs to be open and active as the front most document in photoshop.
Step 2 – Variable Data
A csv file is used to merge records in a spreadsheet against the photoshop template. Each row represents an image that will be merged and saved. Minimally the csv file will need one column which includes the filename for each merged image. Additional fields can be used to merge dynamic text and turn on/off layers for each dynamic image.

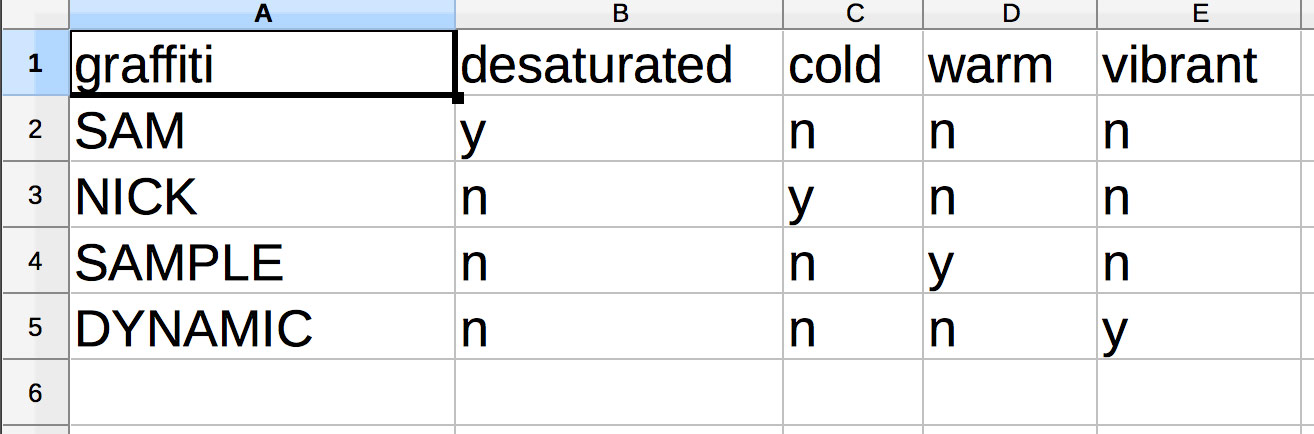
The following sample spreadsheet is used in the video demonstration above. The field ‘graffiti’ was used as the filename and output the files SAM.jpg, NICK.jpg, SAMPLE.jpg and DYNAMIC.jpg. This same field was also used to replace the text ‘graffiti’ in the photoshop template with the names. The fields ‘desaturated’, ‘cold’, ‘warm’, ‘vibrant’ are used to turn on/off layers per record. The field names must match layer names in the document. For each record and cell ‘y’ indicates the layer should be turned on ‘n’ indicates the layer should be turned off.
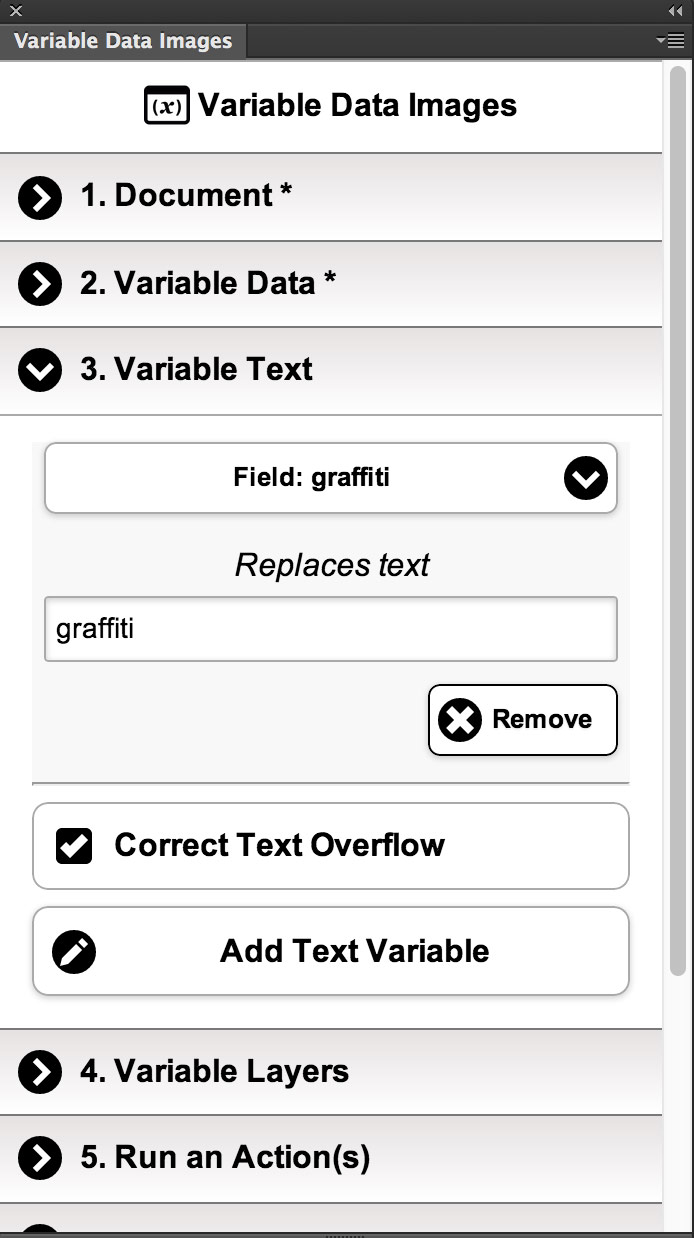
Step 3 – Variable Text
For any text to be merged, specify the field name in the csv to merge against, and which text to replace in the photoshop document (either point or paragraph text).
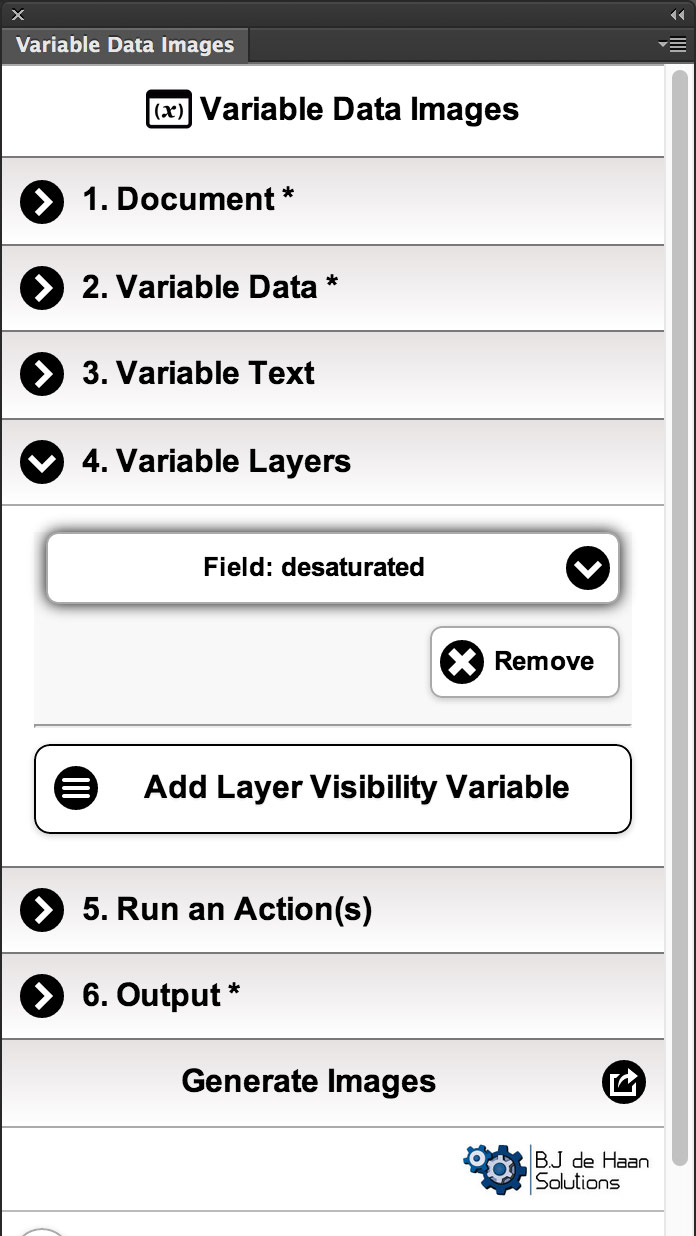
Step 4 – Layers
For any layers that need to be turned on/off in the merge add them here. The field name needs to match a layer name. For each record the layer will be turned on if the cell contains ‘y’ and turned off if it includes ‘n’. For example the following spreadsheet is used in the video demo above to turn on/off the layers ‘desaturated’, ‘cold’, ‘warm’ and ‘vibrant’.
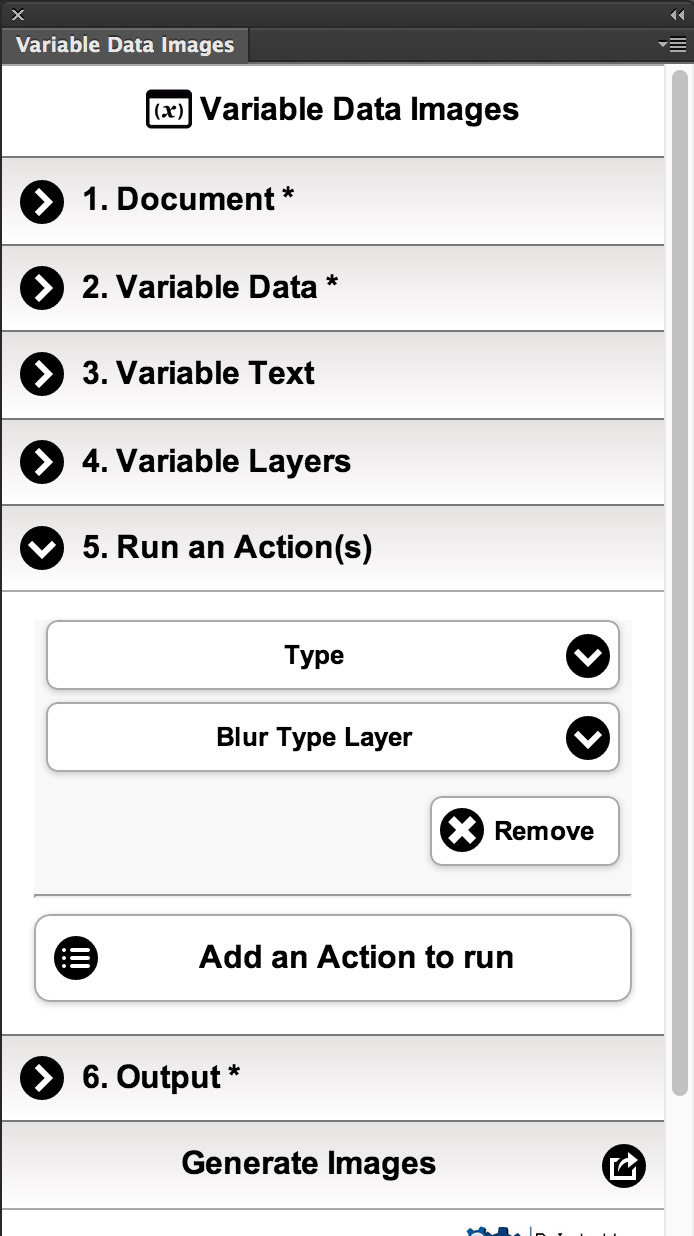
Step 5 – Actions
One or more actions can be run on the merged images. Add them here.
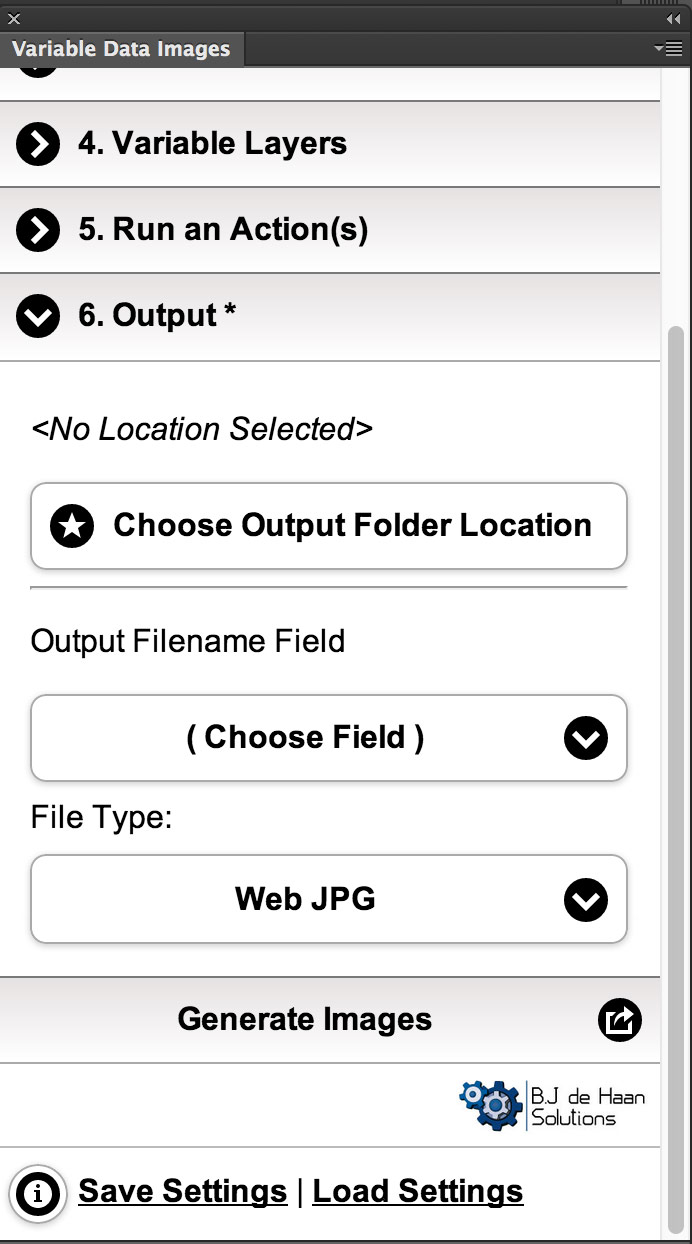
Step 6 – Output
A folder needs to be specified. This is where the merged images will be saved. File names for the images are set in a field in the csv file. These can include any valid characters used for file names. Each name should be unique. Any duplicates will overwrite each other. Valid output types can be JPG, PNG, TIFF, PSD with option for web quality images also.